# Management UI
# Introduction
In this article, you will learn about the management application that allows you to create your project, schedule events, as well as manage devices and social media topics during the execution.
After a successful login, you will first be in the main view (Home) with an overview of all active projects,
which are assigned to you as a customer.
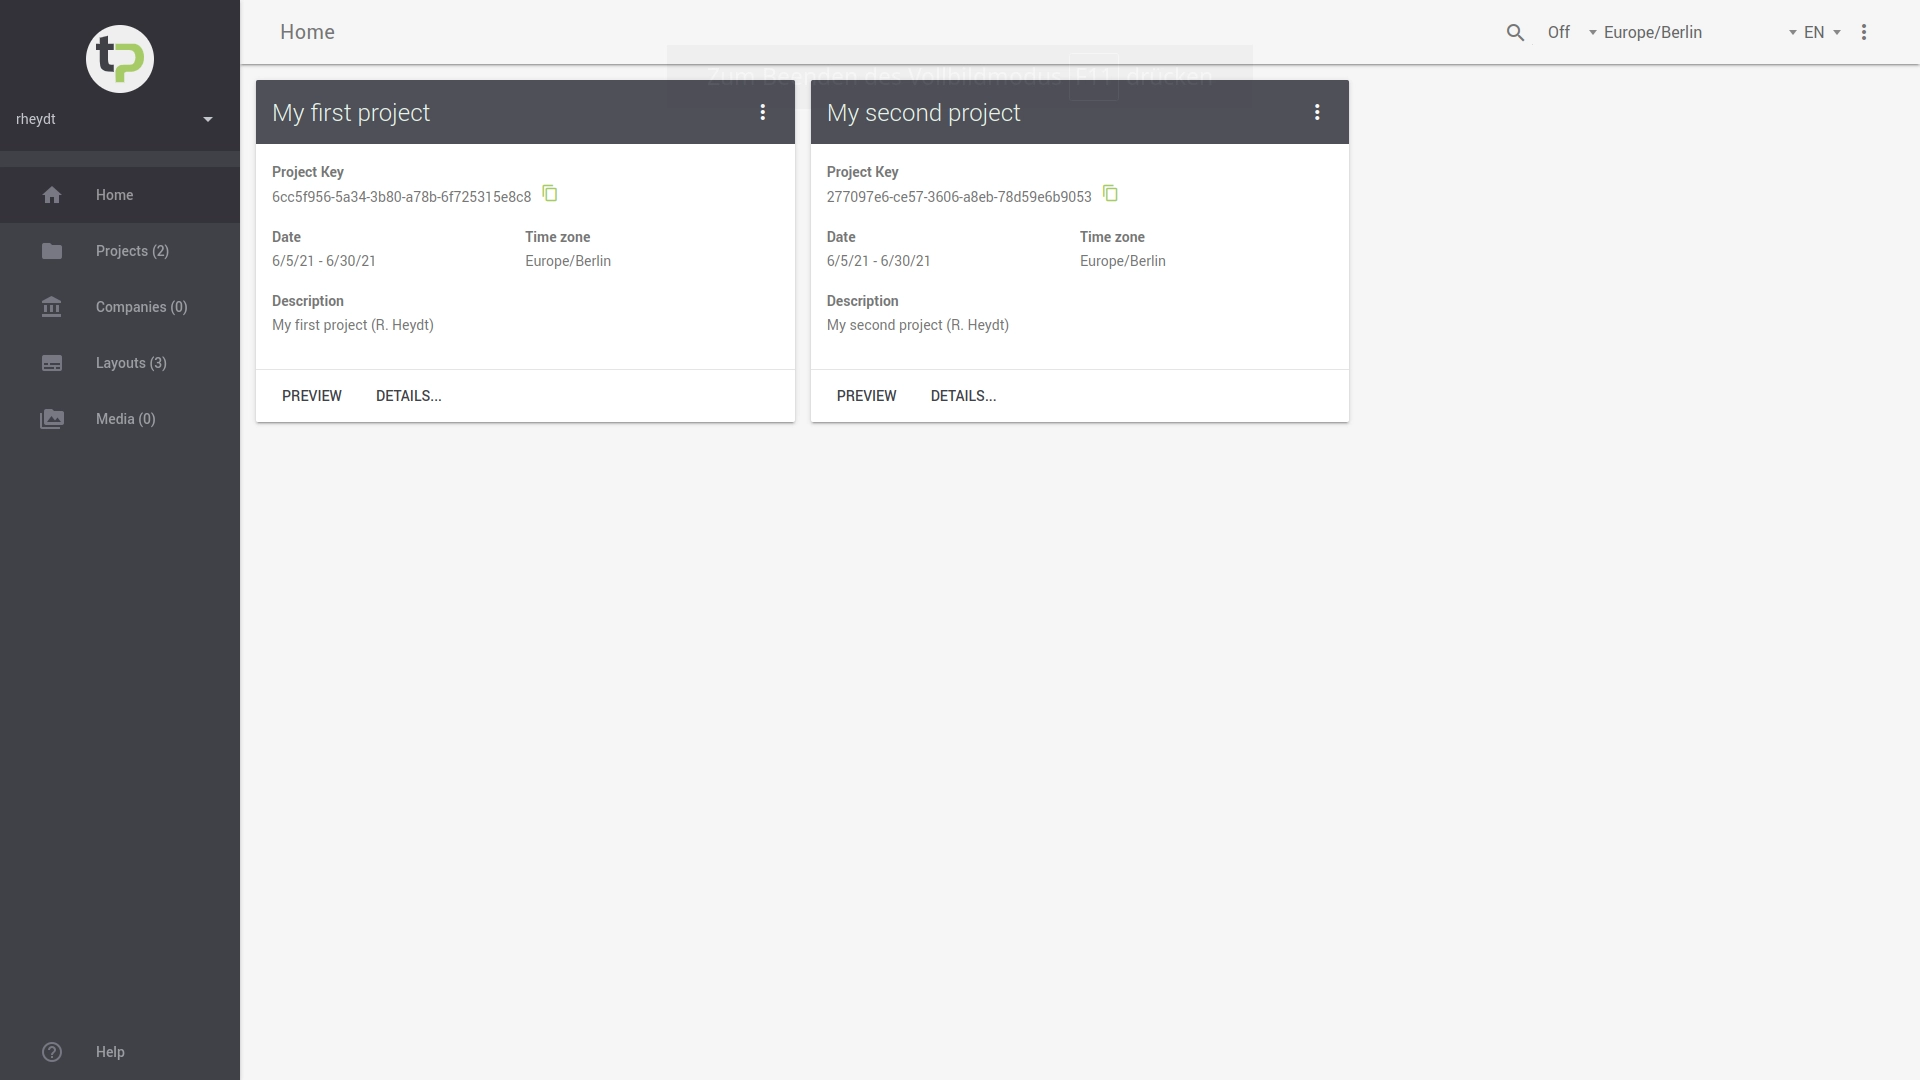
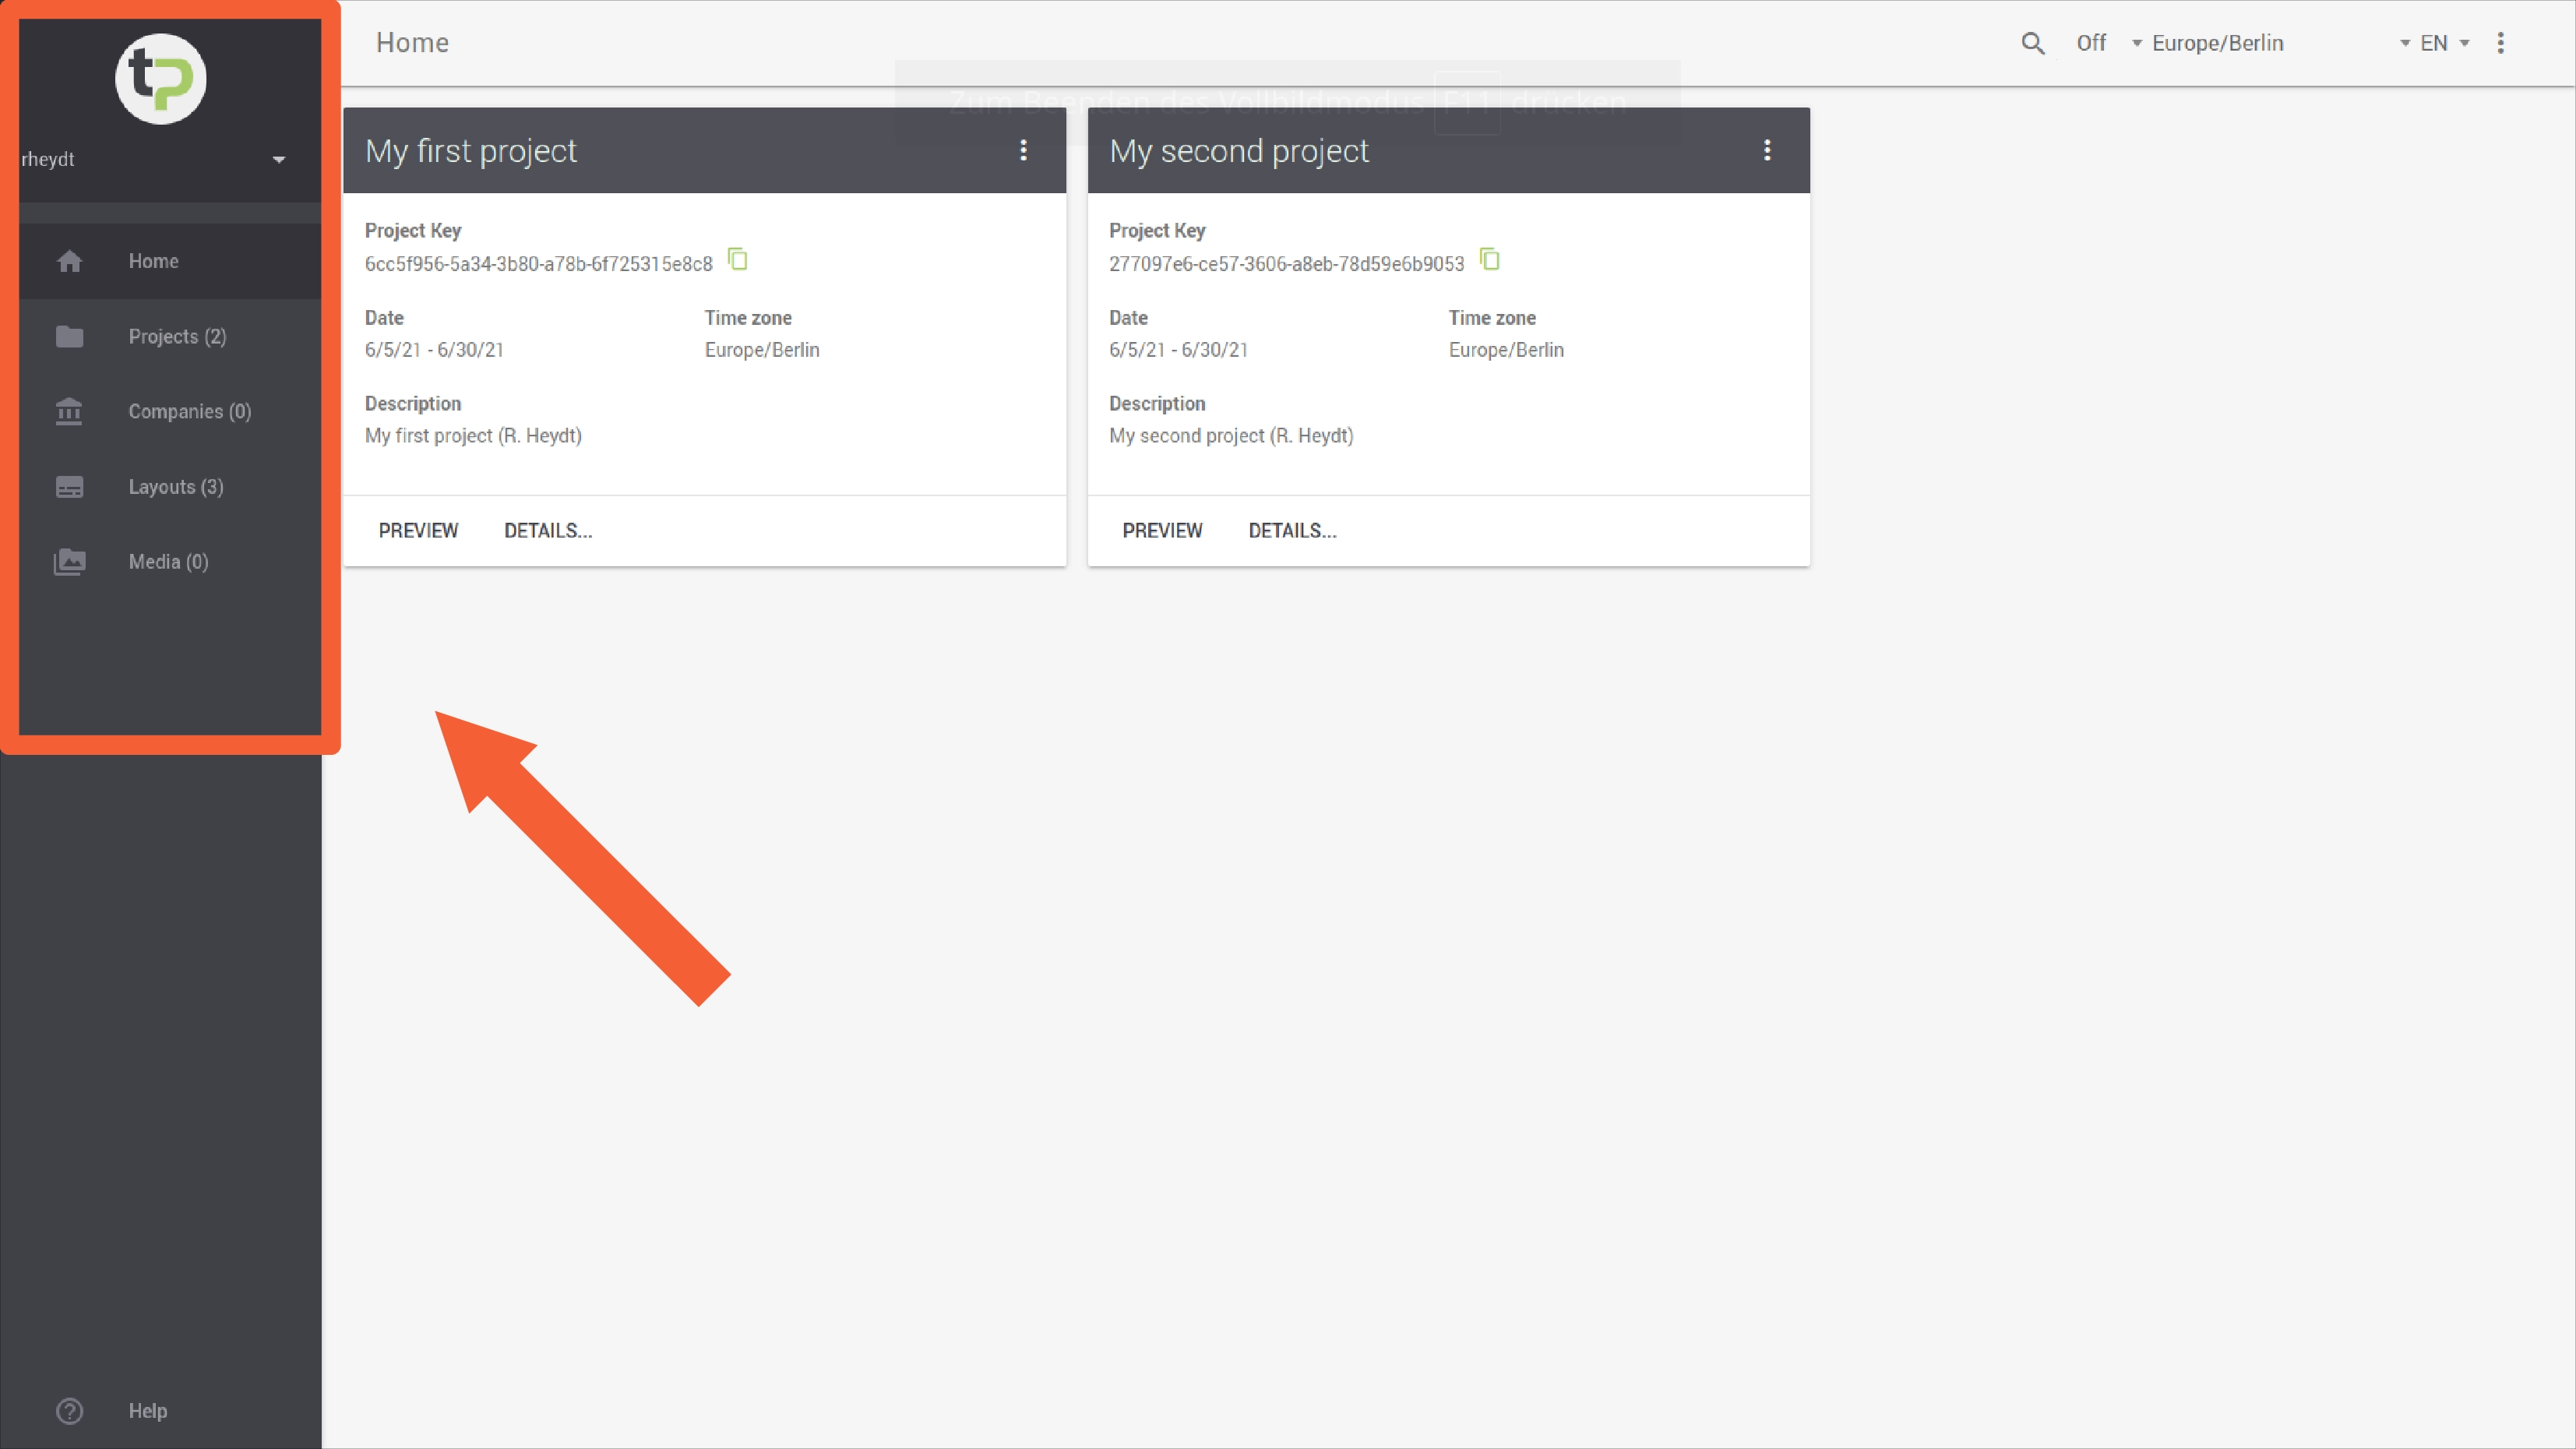
On the left side of the view is the navigation structure of the application, with which you can call further functions. can be called.
You can learn details about this in the further, topic-specific KB articles.
# Navigation (What is where?)
Below the menu item Home you will find the following general functions, which are independent of a specific project:
Projects- Allows you to list your previous or planned projects.Companies- Allows you to list and configure Companies across projects, which can be included as Partners for example.Layouts- Allows you to list and configure Layouts across projects, which you can apply to devices in projects.Media- Enables cross-project listing and management of Media, which you can play out in projects in the form of images or PDF files.
Attention:
- These settings apply across all projects. If you delete companies, layouts or media here, they will disappear in all projects!
- Likewise applies: If you provide new entries or media over the functions mentioned above, you can profit these in all projects from it.
# Actions of the project management
Details on how you can create, edit, archive or delete projects is provided by the following KB article in more detail.
# Actions for managing layouts
Details on how to search for, edit, or delete layouts are presented in [the following KB article the following KB article in more detail.
# Actions for managing organizations
Details on how to search, edit, or delete organizations are presented in [the following KB article the following KB article in more detail.
# Actions for managing images
For details on how to upload, crop, edit, or delete images for your projects, please refer to the following following KB article in more detail.
# Current time zone
If you have to plan and execute your projects in different time zones, you can define all data in the correct local time. correct time on site. To do this appropriately, you must "jump" to the project-specific time zone. To do this, you will find the option in the upper right corner to set the time zone for the course of the current session.

Attention:
- You can change the setting flexibly. However, if you log out, this customization will be lost.
- Therefore, you may have to select the time zone again to manage your international projects appropriately.
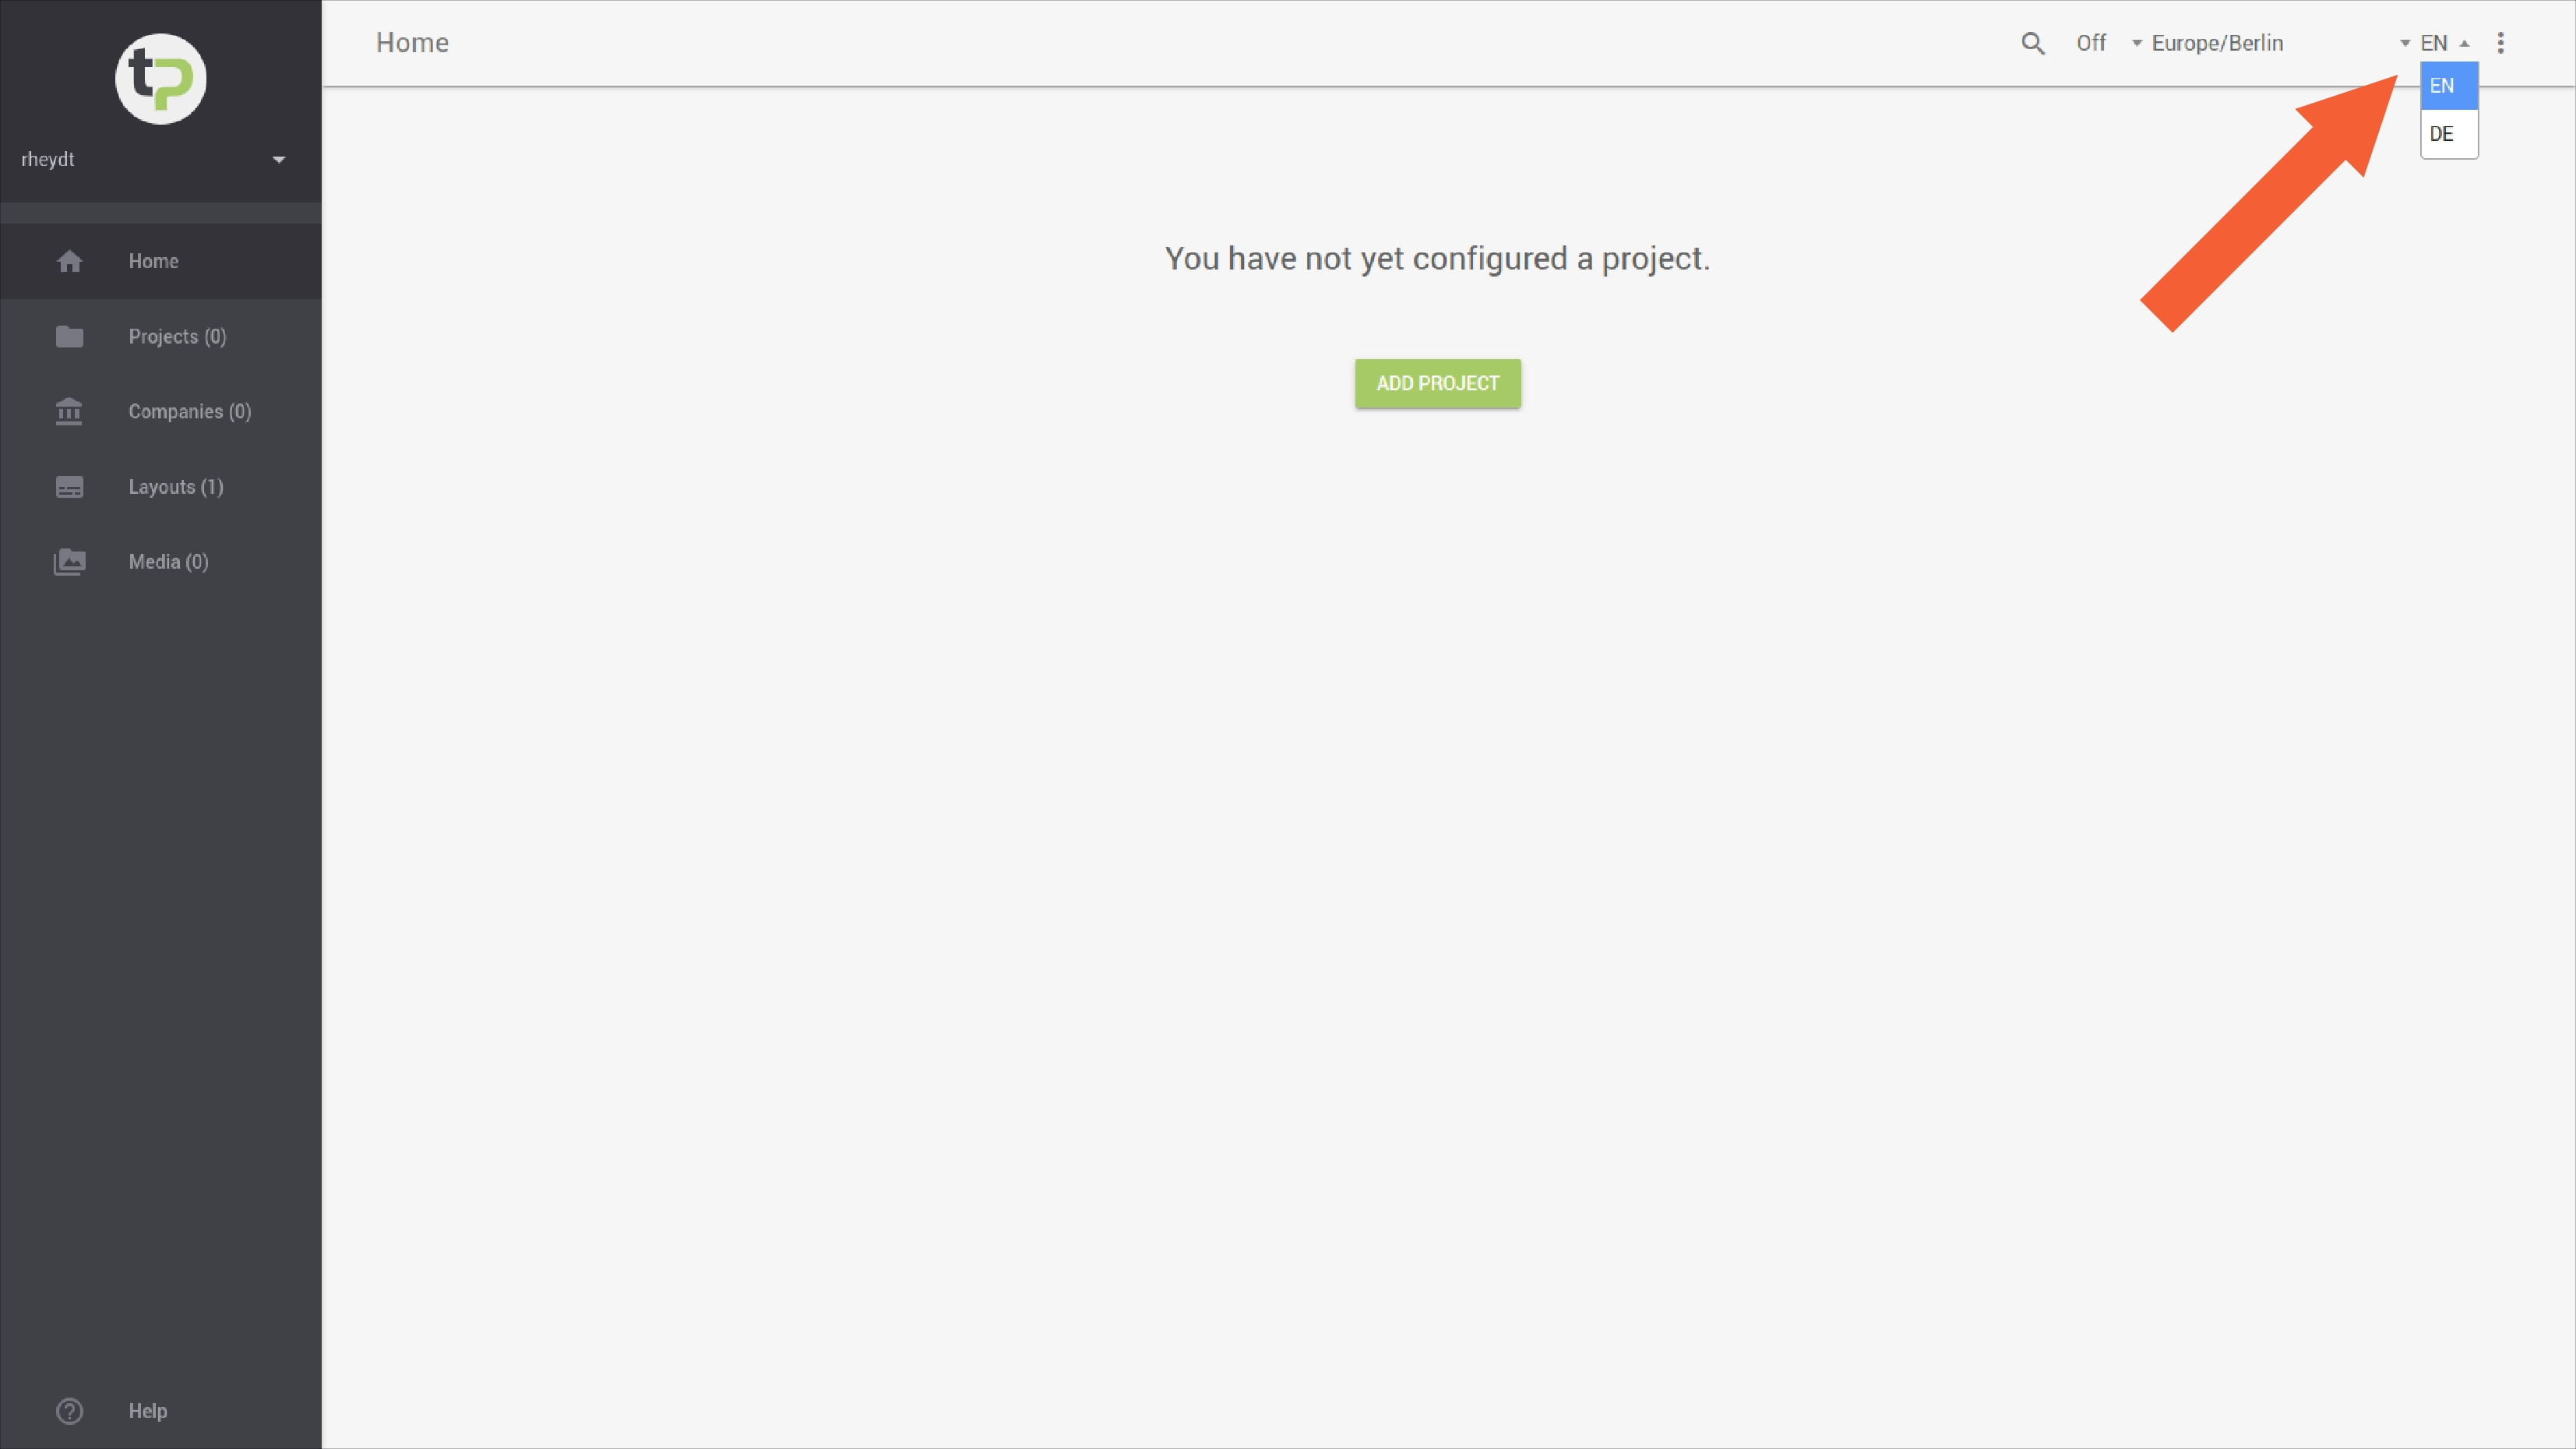
# Preferred language
To customize the management application to your preferred language, you will find a checkbox in the upper right corner to change the language of the application. of the application.
Tip:
- Currently the languages English and German are supported.
- Our team is working on further translations, which will be released in the future.
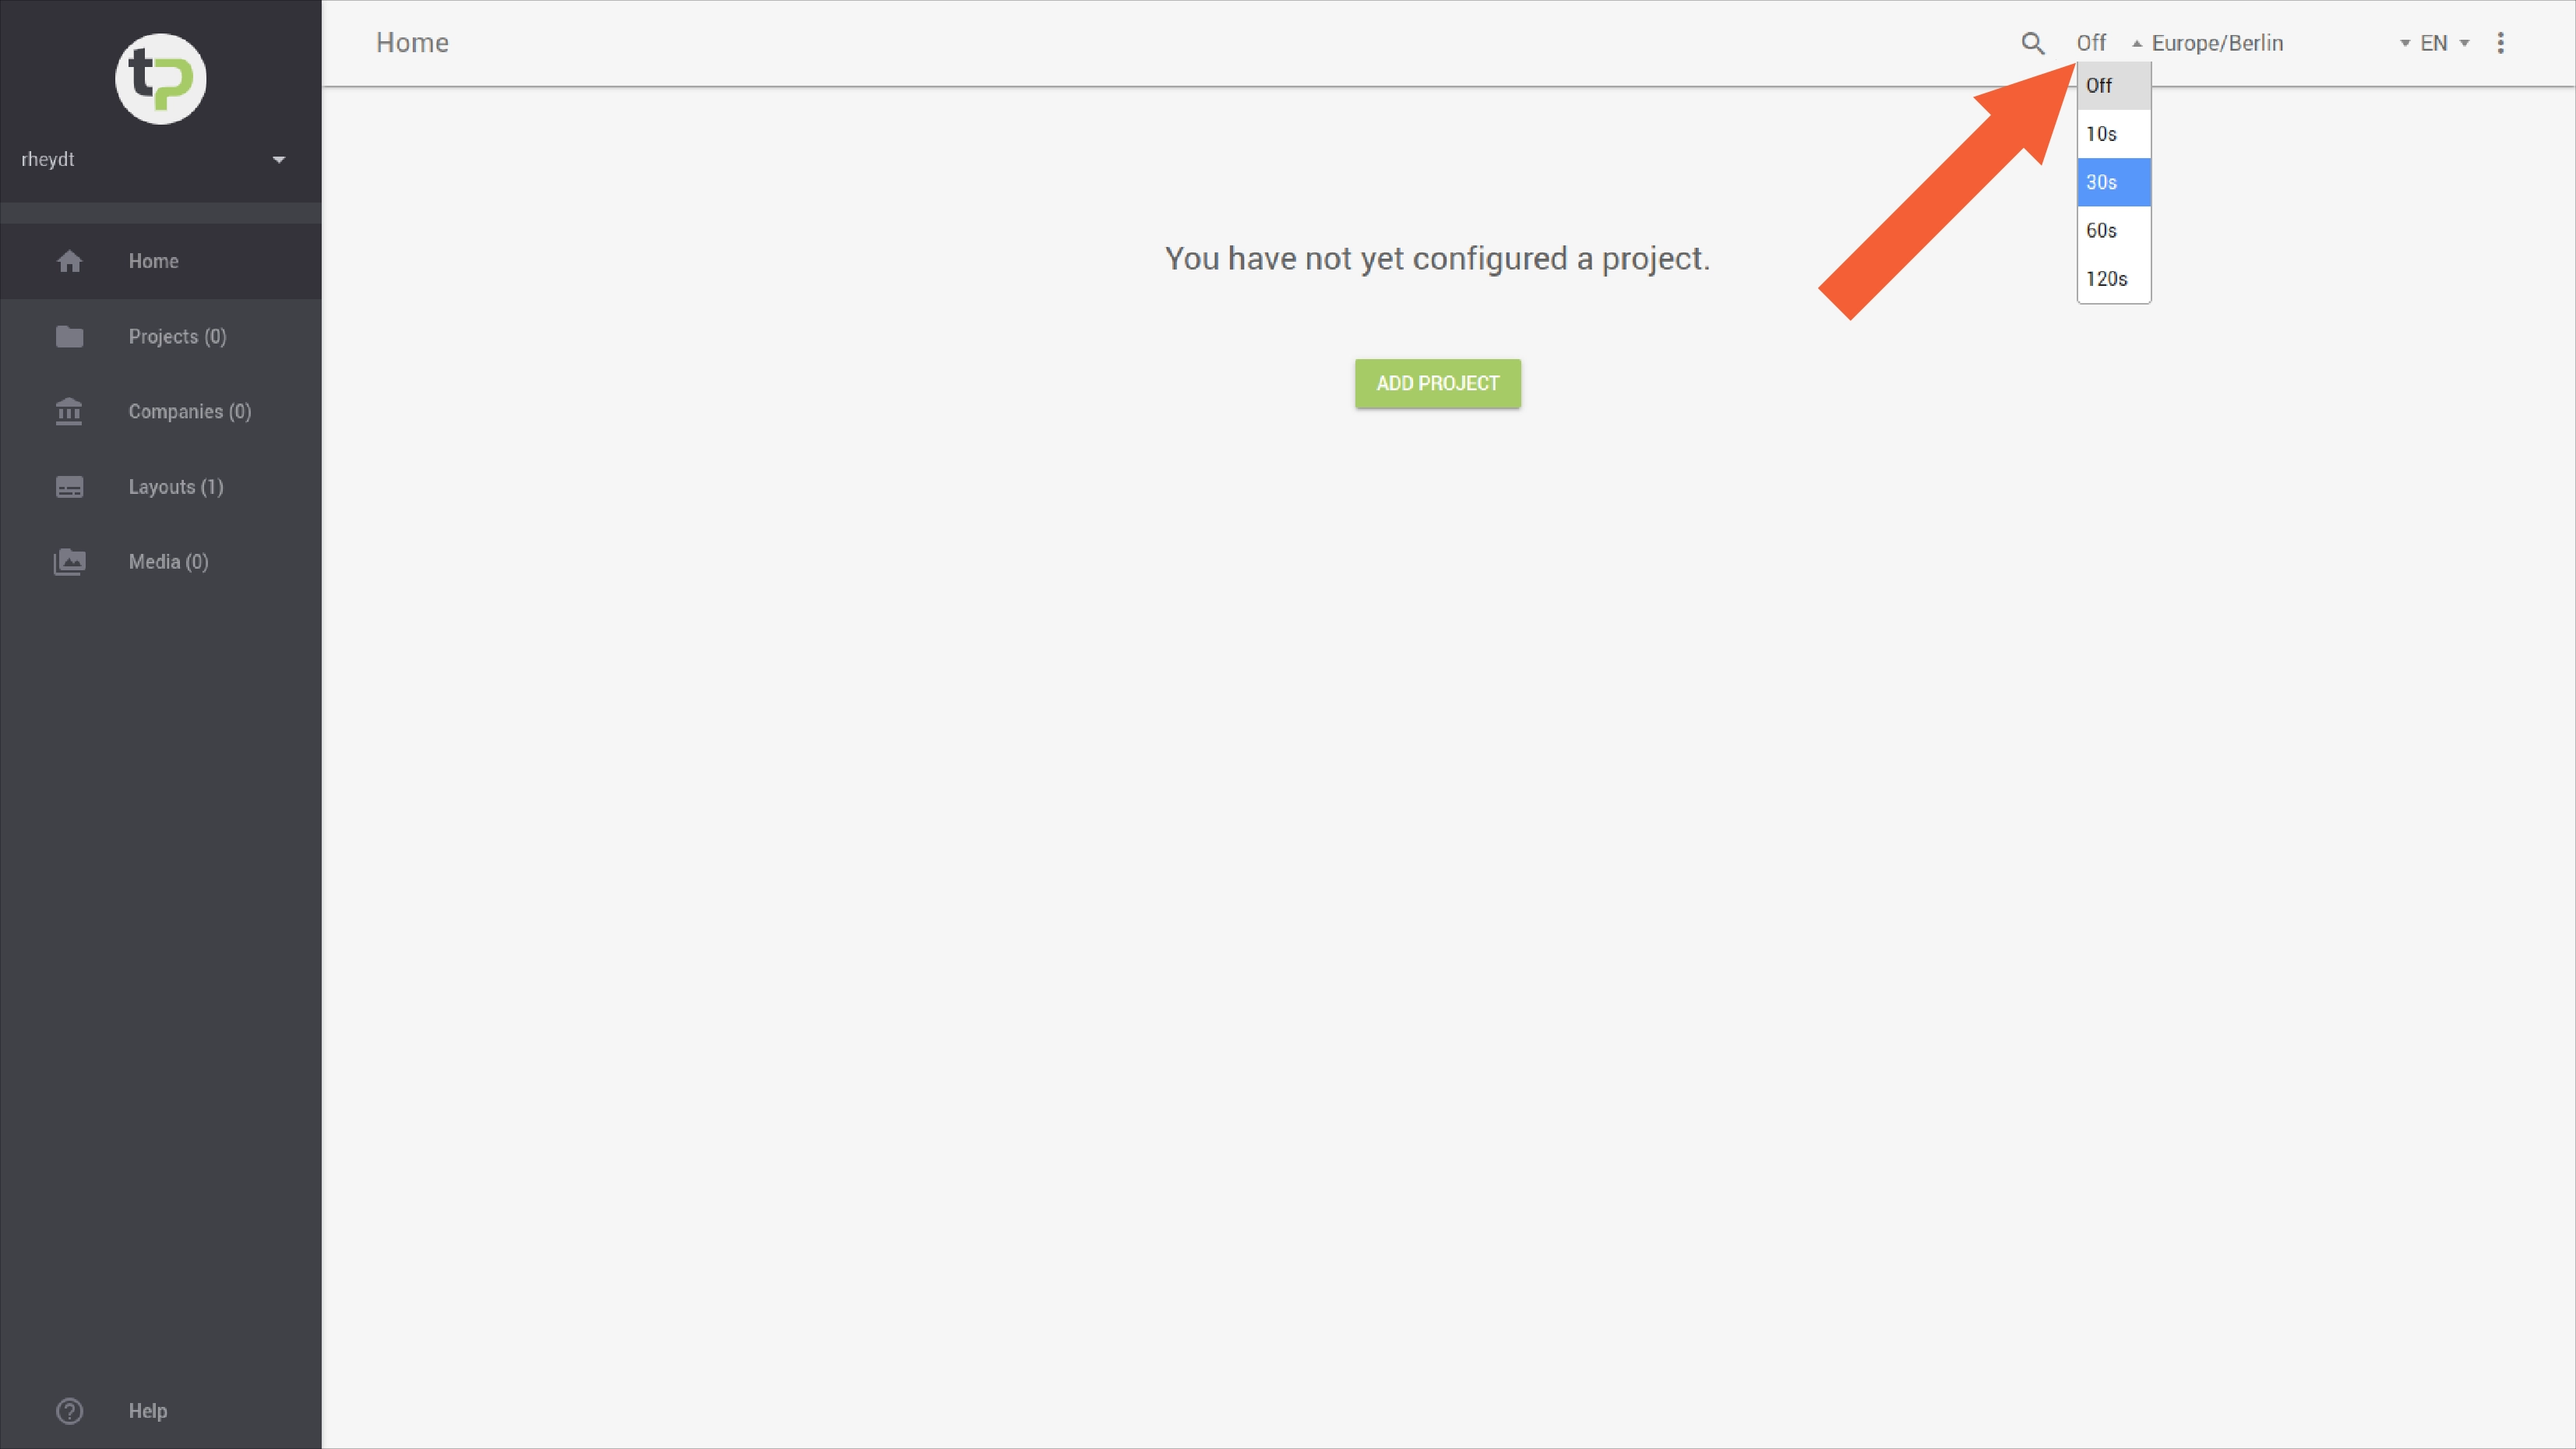
# Automatic page refresh
If you want to automatically refresh some pages of the application periodically, you can set a
Refresh interval.
Tip:
This behavior is especially useful during a project, for example, when you are running live Monitor devices, i.e. you want to keep an eye on what they are displaying or whether the hardware is or whether the hardware is working properly.
Similarly, you can also benefit from this in the context of social media functionality, if you want to live moderate tweets.
Also on the top right, you have the option to set the interval to
- 10 seconds
- 30 seconds
- 60 seconds
- 120 seconds
to set. Select the value Off if you want to disable the automatic reloading of the page again.
Notice:
You can change the setting flexibly. However, if you log out, this customization will be lost. Therefore, you may need to set the automatic page refresh again to automatically refresh certain pages.
# Logout
To log out of the application, press on the top left (below our product logo) on the
icon and confirm the context menu that appears by clicking
on the entry Logout. You will be redirected to the login page of the application and can log in again at any time.
log in again at any time.
Attention:
If you are not actively working with the management application for a longer period of time, i.e. you are inactive, you will be logged in after a you will be automatically logged out for security reasons. You will then also be redirected to the login page and then have to authenticate again.