Media management
General
In this article you will learn how to upload, crop, edit or delete images for your projects. It also explains how you can search in the media of multiple projects and filter them by certain properties. filter them.
In the Media Manager, you can find all the image assets associated with your projects.
Supported media formats
The system supports several media formats, which you can subsequently use in projects for various purposes:
The following image formats are not supported by the system:
Search & filter
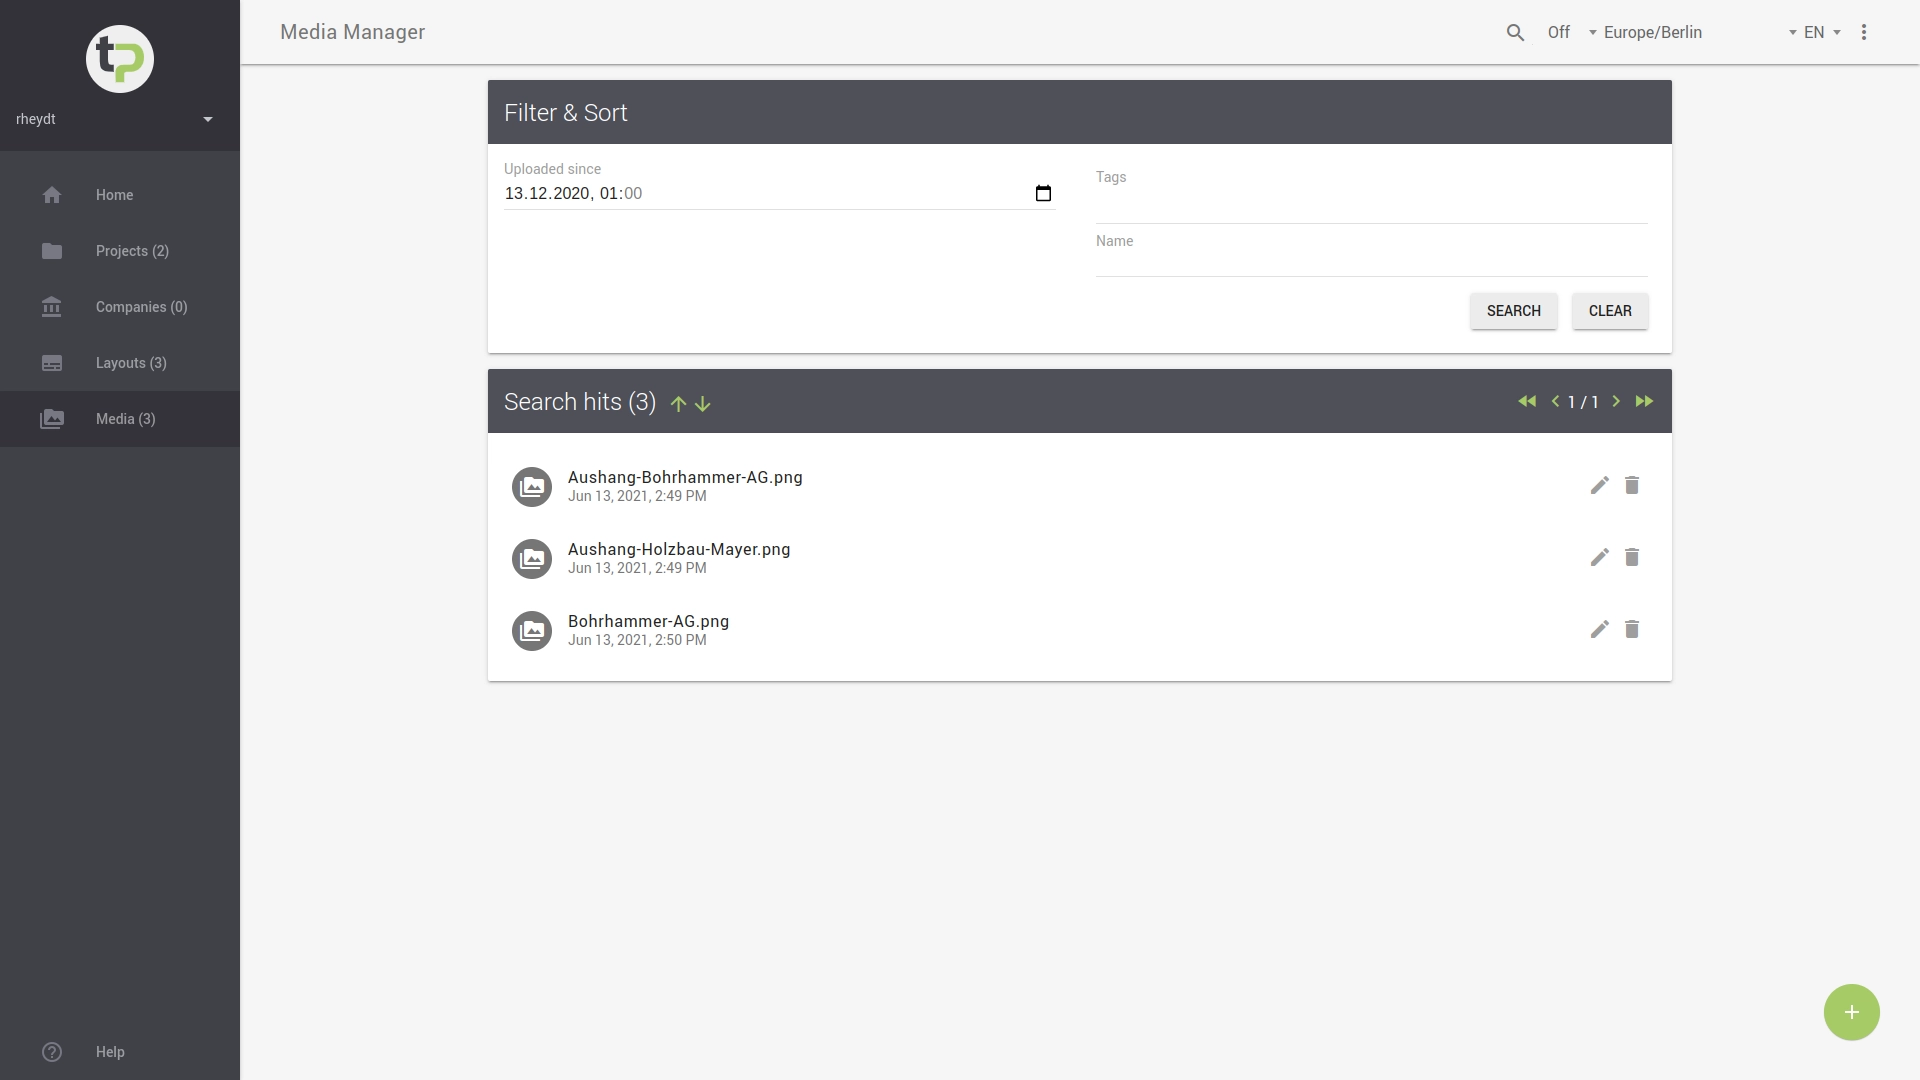
In the Filter & Sort section you can specifically limit the set of image materials. For this you can use search terms for the name of an image or select tags with which a medium was linked.
Upper and lower case are not considered here. To narrow down the search, press the SEARCH button.
In addition, you can also narrow down the displayed media by the date of uploading. For this, use the date chooser and set your desired date and a time to further narrow down the hit list.
Tip:
Filtering can be helpful if you want to search specifically for certain media in a variety of projects. The use of tags can provide you with additional support in this regard. Some tags are automatically assigned by the system. If you have defined your own tags, you can use them to additionally mark a medium in order to find it more easily later. find it later.
The hits are sorted alphabetically descending by the name of an image medium. You can use the up/down arrows to change the sort order. Note that you can use the < or > icons to navigate through the hit list to find more media among the given ones. to list additional media under the specified search criteria.
You can delete all filters or search entries with the button RESET, then all media of all your projects will be displayed again. of all your projects will be displayed.
Upload
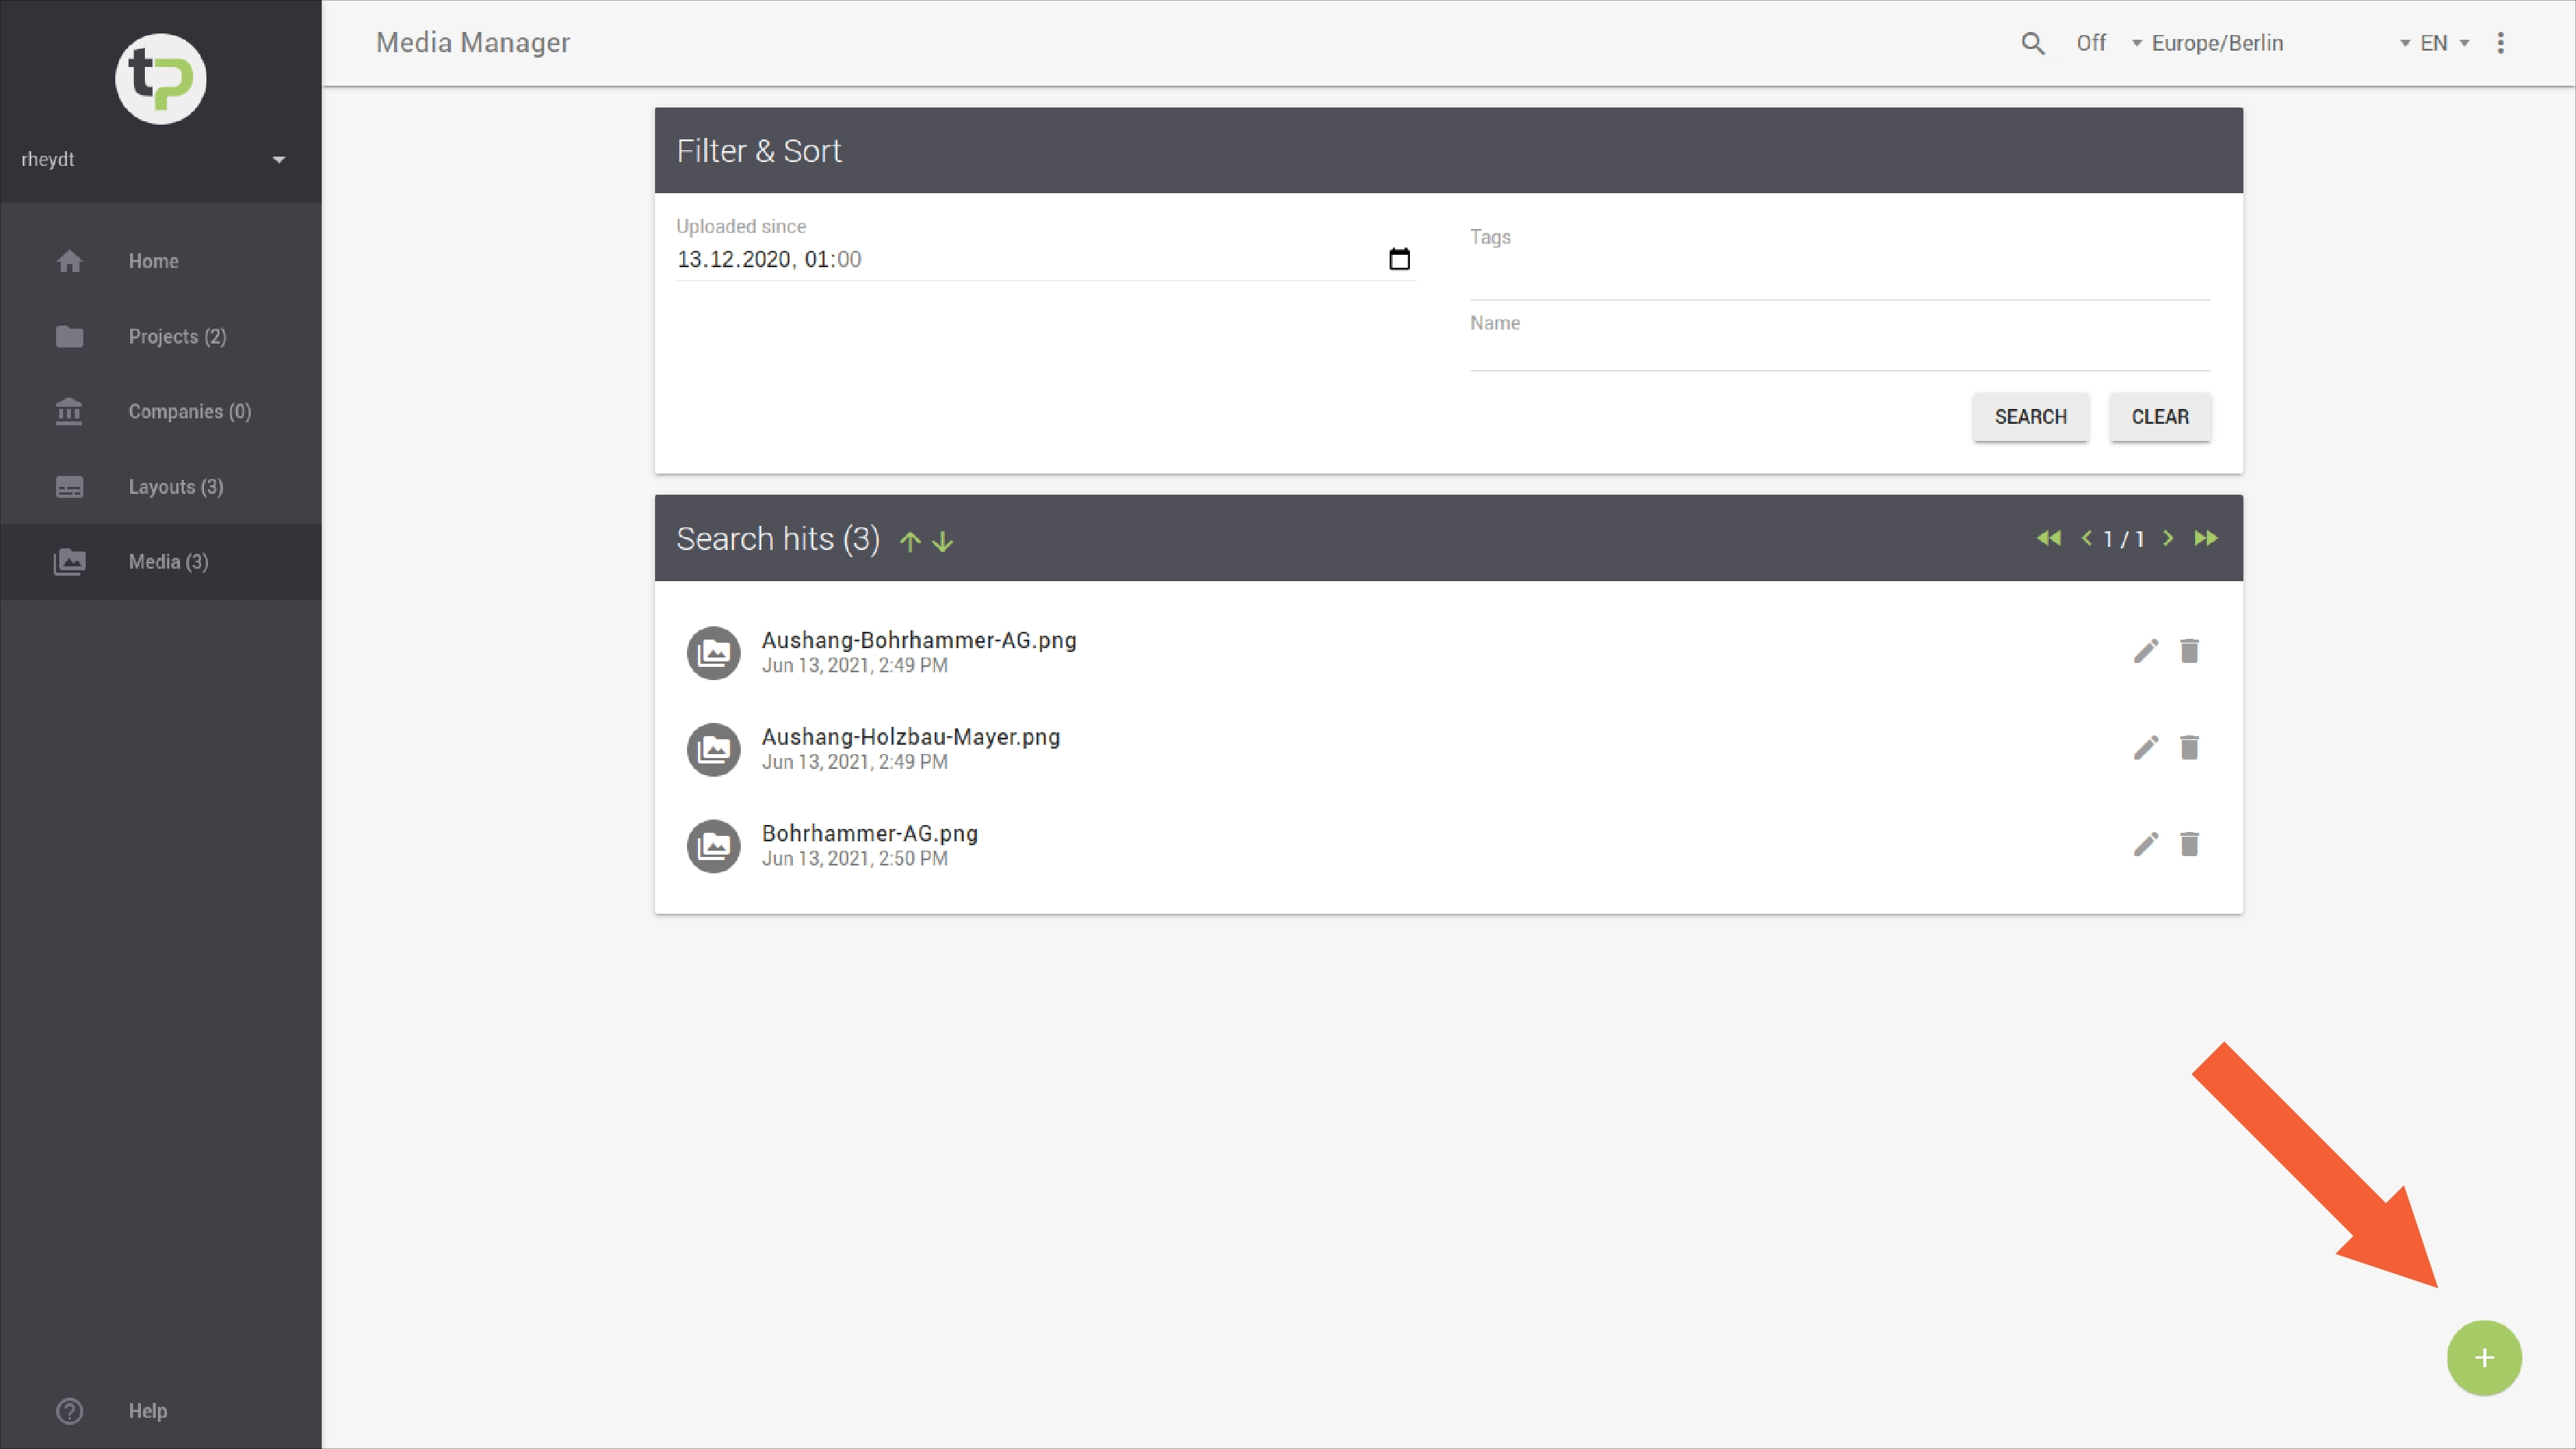
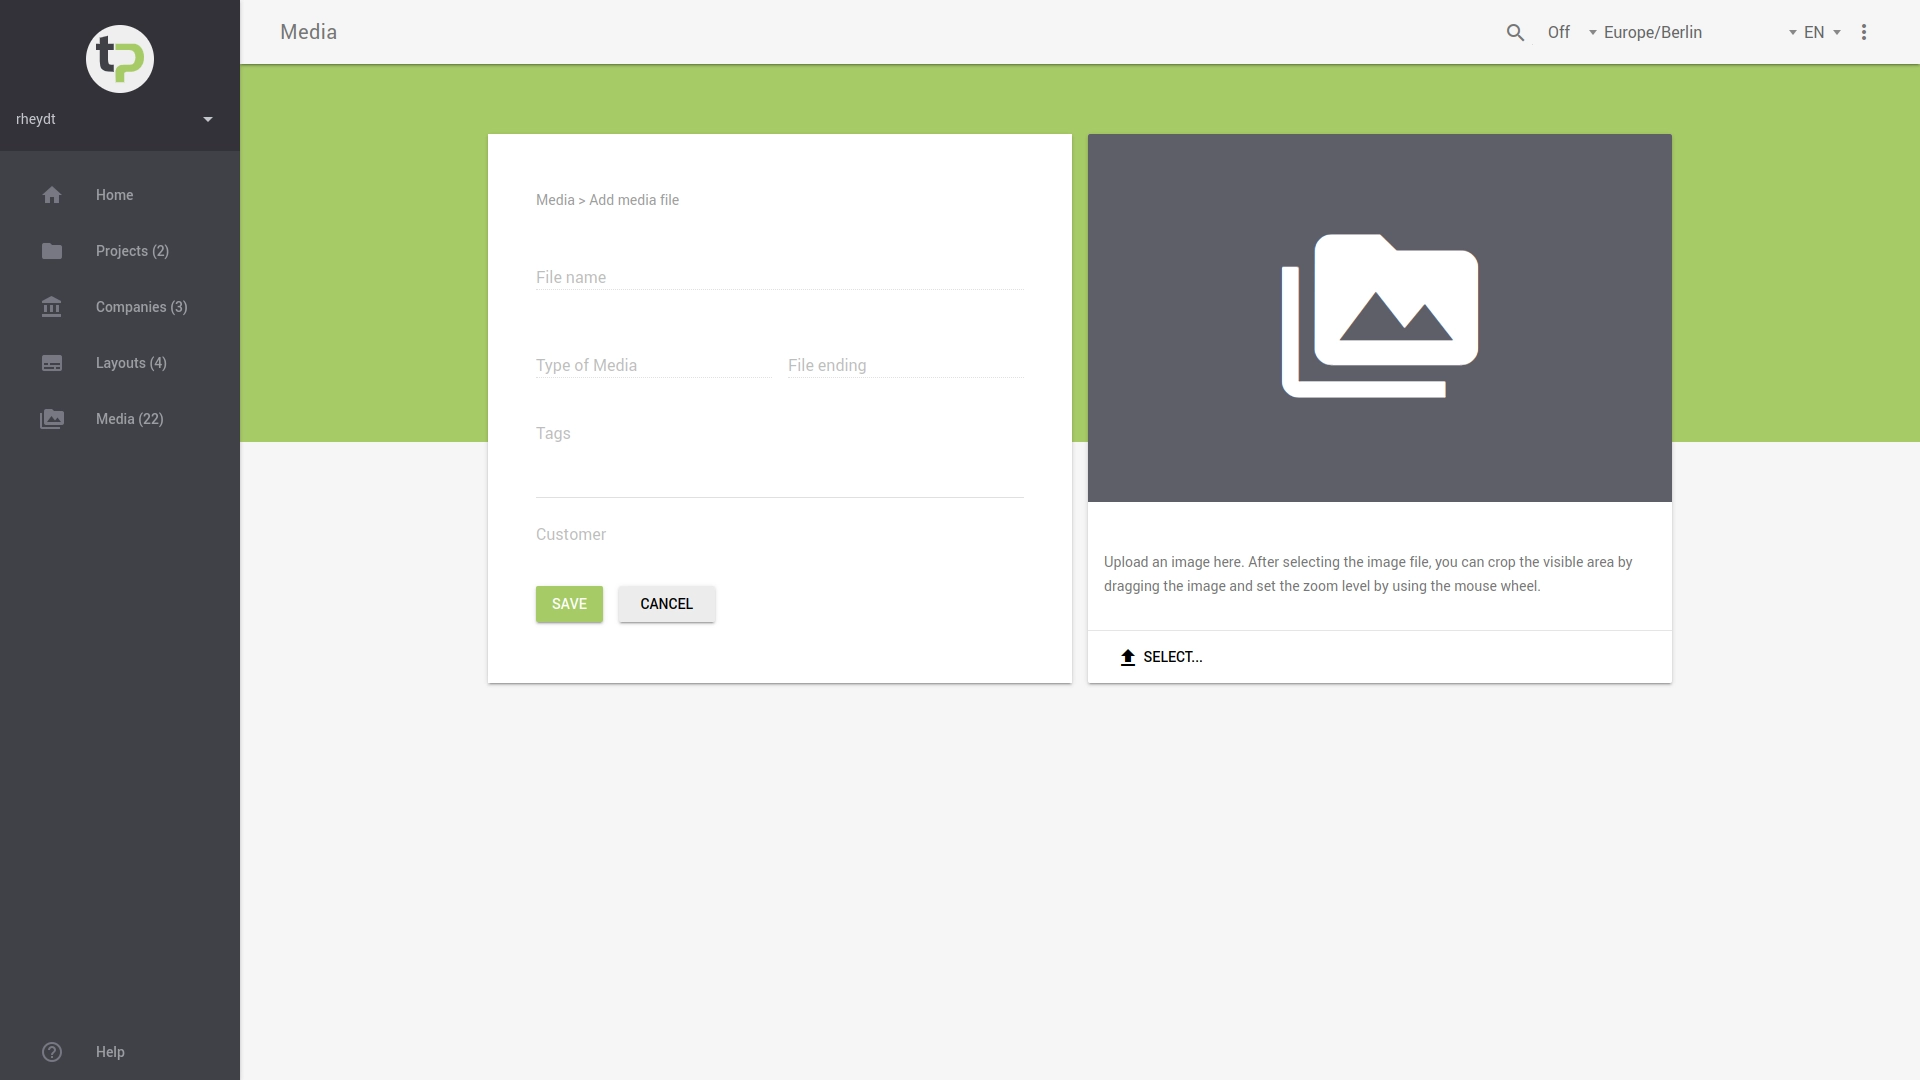
You can add a new media by clicking the + button in the bottom right corner. The following view will open:
For each new image medium you can in the right part of the view by clicking SELECT to open a selection dialog. This shows you all files on your local device. Here you can select an image or another media file, which are supported by the system. This file will be displayed in the current view via a preview.
You can select the visible area by dragging the marker. The degree of magnification can be adjusted using the mouse wheel.
Tip:
If necessary, adjust the section of the image by selecting the (partial) area you want.
Use the button STORE to add the medium to your projects. The button will only become active once all the required information has been entered.
Note:
The file size of the image must not exceed the default shown (in MB).
Edit
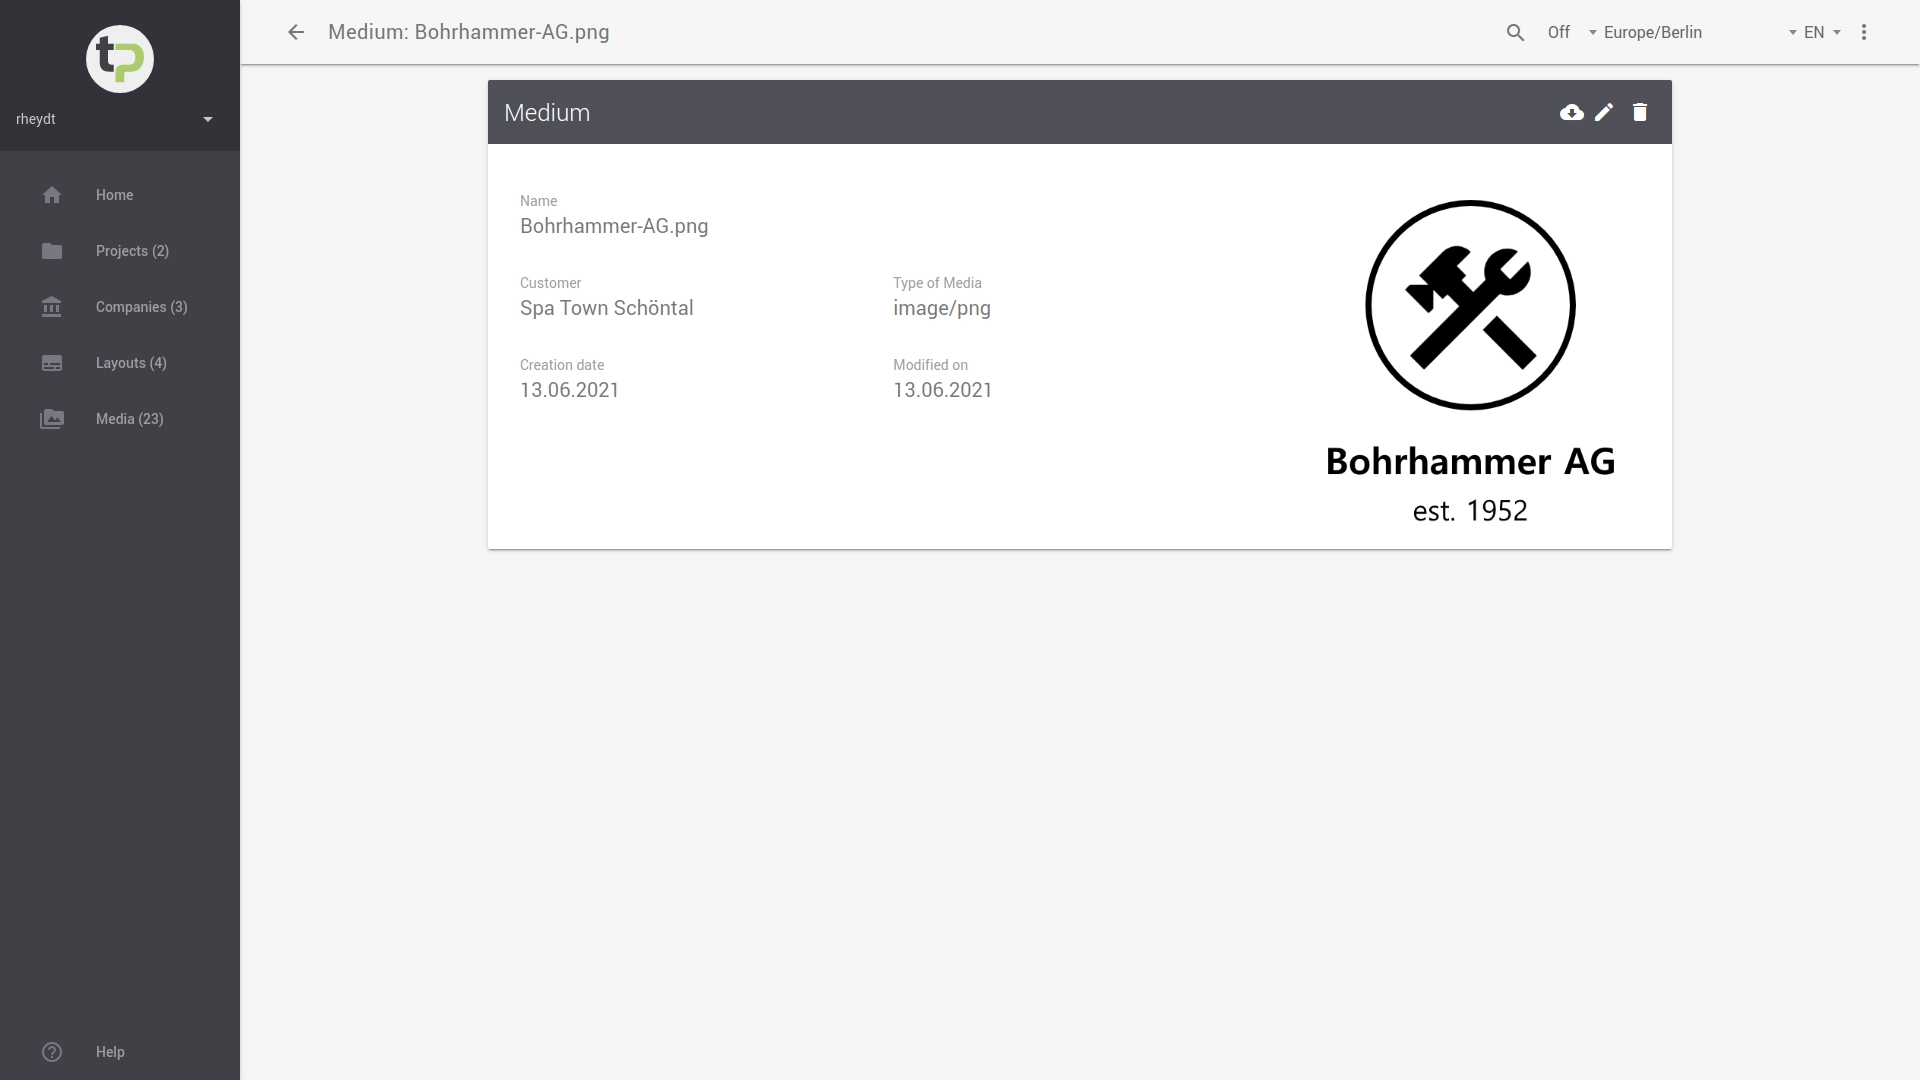
To edit an existing medium, press in the Media Manager overview. The view for uploading a medium opens again.
You can change the filename of a medium here, i.e. correct or add to it. Under Tags you can link or remove additional tags. With the button STORE changes are taken over.
Tip:
If you want to exchange the image to the existing filename, you can upload a new medium from your local system on the right side. The existing medium will then be replaced by the new image. With the button STORE changes are taken over.
Delete
To delete an existing medium, press in the overview of the media manager.
Deleting a medium is also possible if you have called it in viewing mode. Press to remove the medium from the system. To complete this process, press CONFIRM in the following dialog. Otherwise, you can cancel the deletion process by clicking the CLOSE button.