# QR codes
# General
In this article you will learn to provide digital content (e.g. flyers in PDF format) via QR codes (so-called resources) using Stage-Guide. You will also learn how to link such a resource to an event.
You can access the resource management via the menu item Resources. There you will see an overview of all defined resources as well as some filter and sort options.

A resource always points to an external reference (e.g. a link to a brochure in PDF format via a unique URL). This reference is free selectable by you. In addition, you can set a validity period for a resource.
Notes:
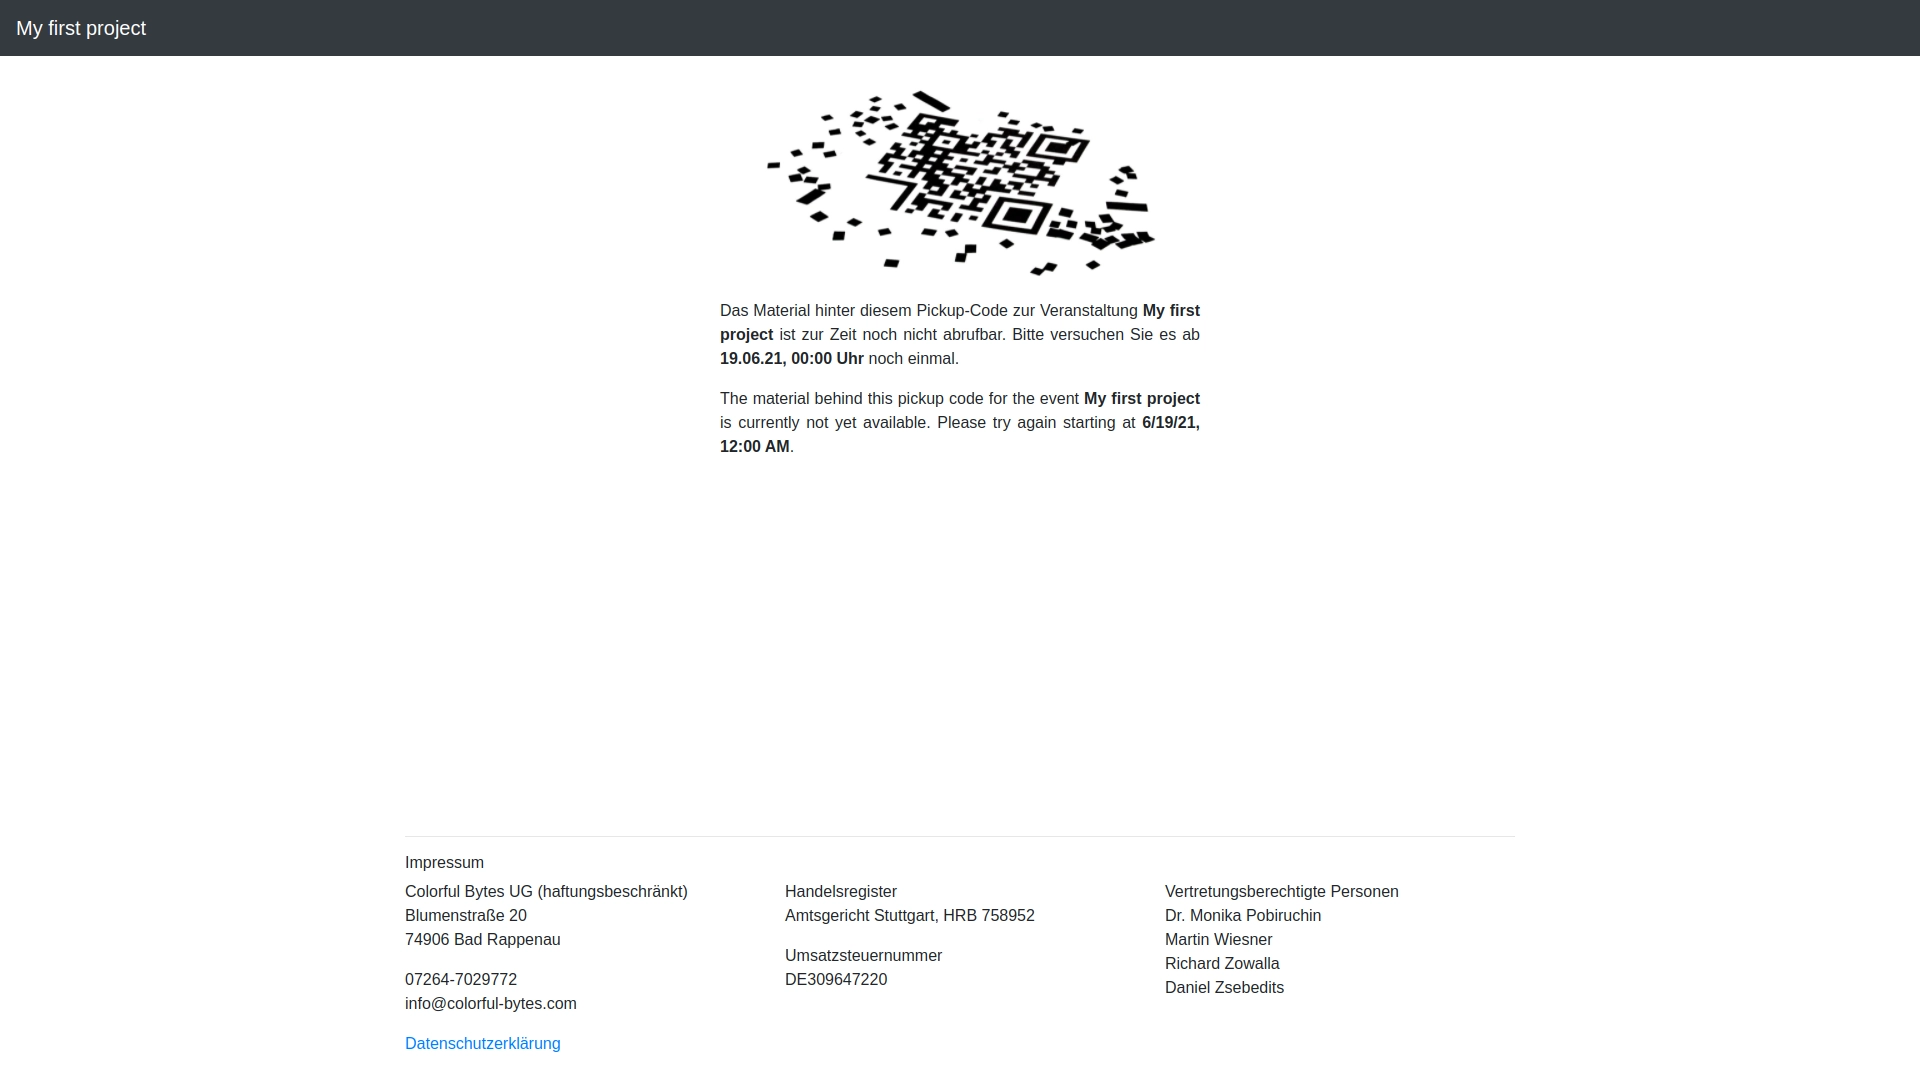
In case of an invalid or expired resource, your guests will be shown an error page when retrieving the respective resource.
Resources provided by Stage-Guide always point to an address of the following form: https://qrtp.de/to/<ID>.
When a resource is retrieved, Stage-Guide automatically redirects the requestor to the target reference set.
Each retrieval of a resource is recorded by Stage-Guide, so that you can collect and retrieve corresponding retrieval statistics from the overview page of the resource.
page of the respective resource.
# Create a resource
You can add a new resource by clicking on the + button in the bottom right corner.
Then the following view opens:
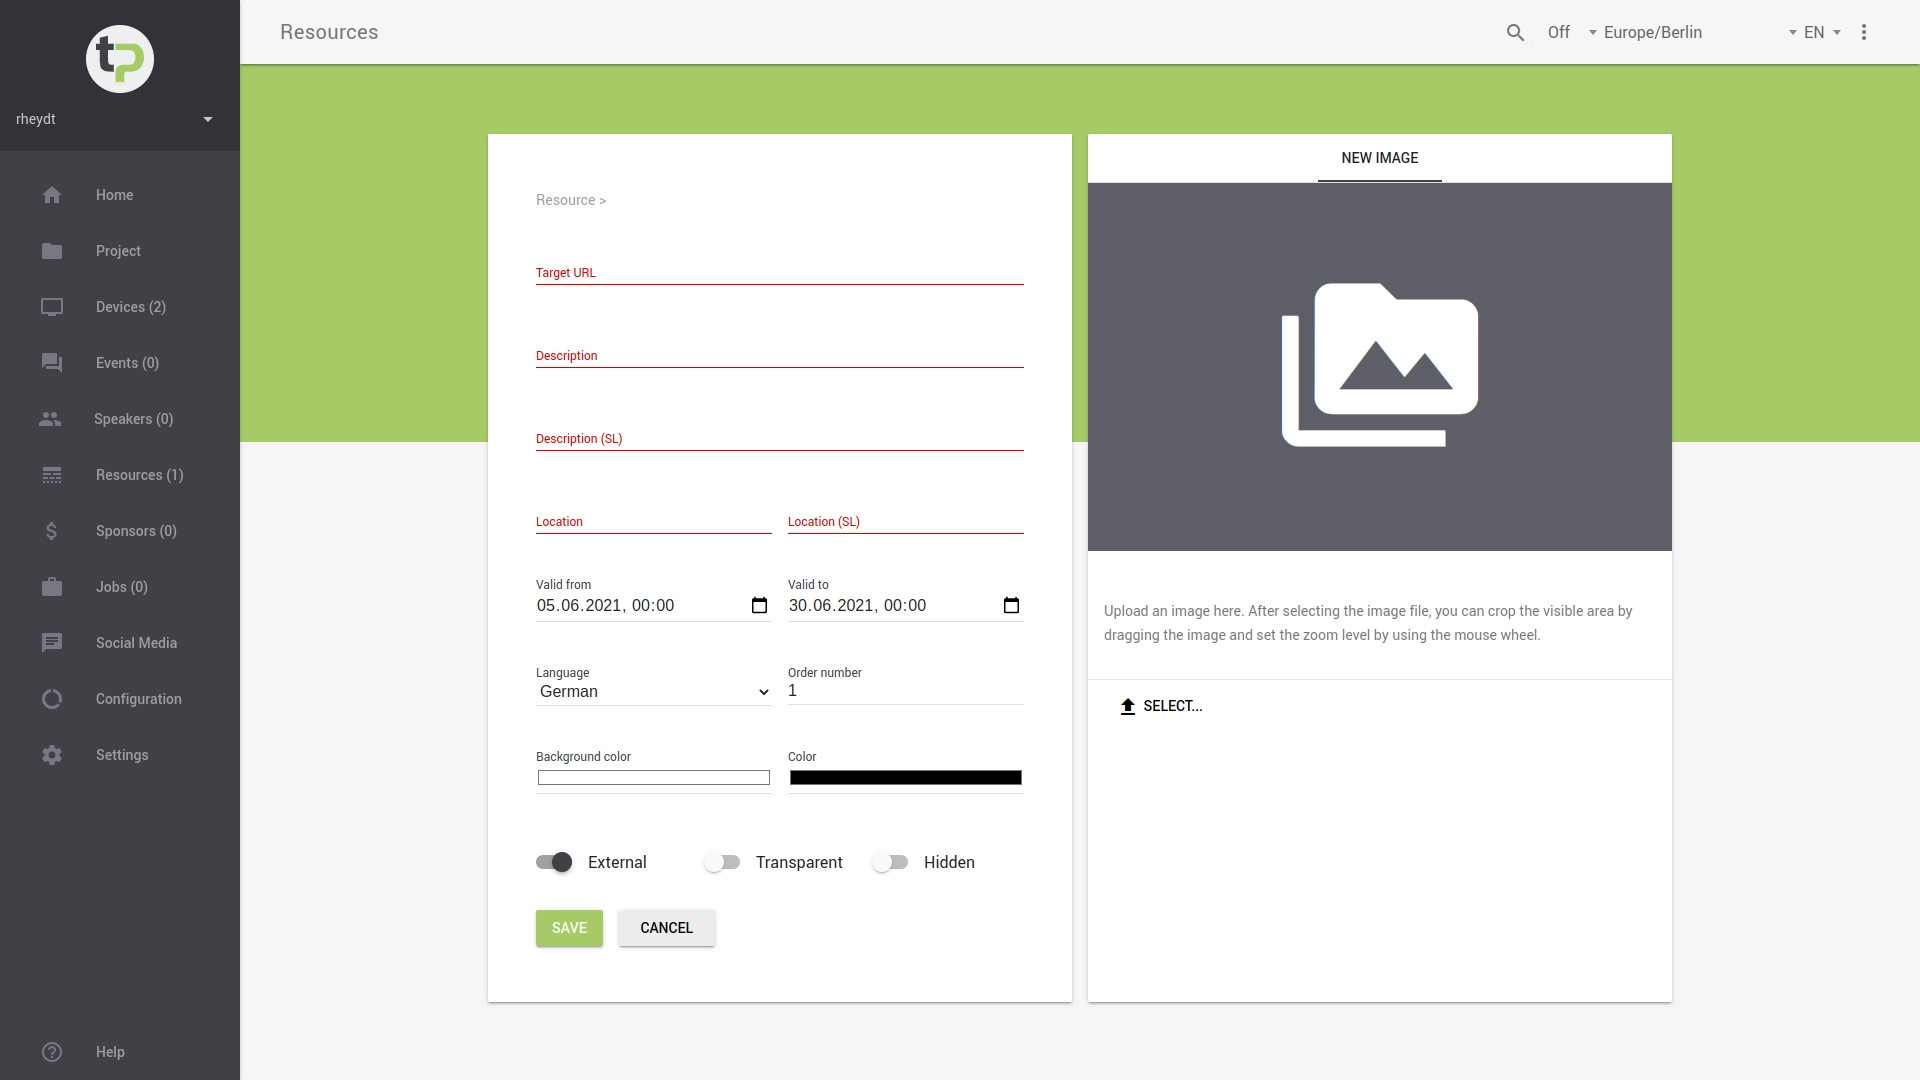
For each resource you need to specify the following:
- reference, the reference to the material you want to provide via URL,
- description, for you or your colleagues to quickly understand,
- location, where the QR code will be placed,
- validity period, i.e. from or until when the resource should be retrievable,
- a language which matches the material of this resource,
- ordinal number, to specify an order,
- background color as well as a foreground color of the QR code to be generated.
Additionally, you have the option to specify whether a transparent background should be used. This can be advantageous if you want to digitally process the generated QR code for other purposes.
Alternatively you can directly assign an image medium (of an existing QR code). Please note the information about the supported formats for media files.
Tip:
The description or location is for your reference only. This will not be displayed on a layout.
Tip:
- If you don't upload an image or QR code via
SELECT, a QR code will be generated automatically when you save the resource. You can download this or (later) assign it to an event. - The file size of the image must not exceed the displayed default (in MB) for the project.
The SAVE button adds the resource to your project. The button will be active only after all the required information has been entered.
# Change resource
To change the properties of a resource, press in the resource overview.
# View call statistics
To view the properties of a resource as well as associated retrieval statistics, click on the description of the respective resource in the resource overview page.
# Assign resource to an event
If you want to associate digital content directly with an event, you can assign the corresponding event to the resource directly:
- to do this, follow the steps to change a resource.
- assign to the desired event and press
SAVE. - finally, if you have not already done so, you can assign your resource to an event. This assignment is described in this KB article.
# Delete resource
To delete an existing resource, press in the resource overview.