# Sponsors
# General
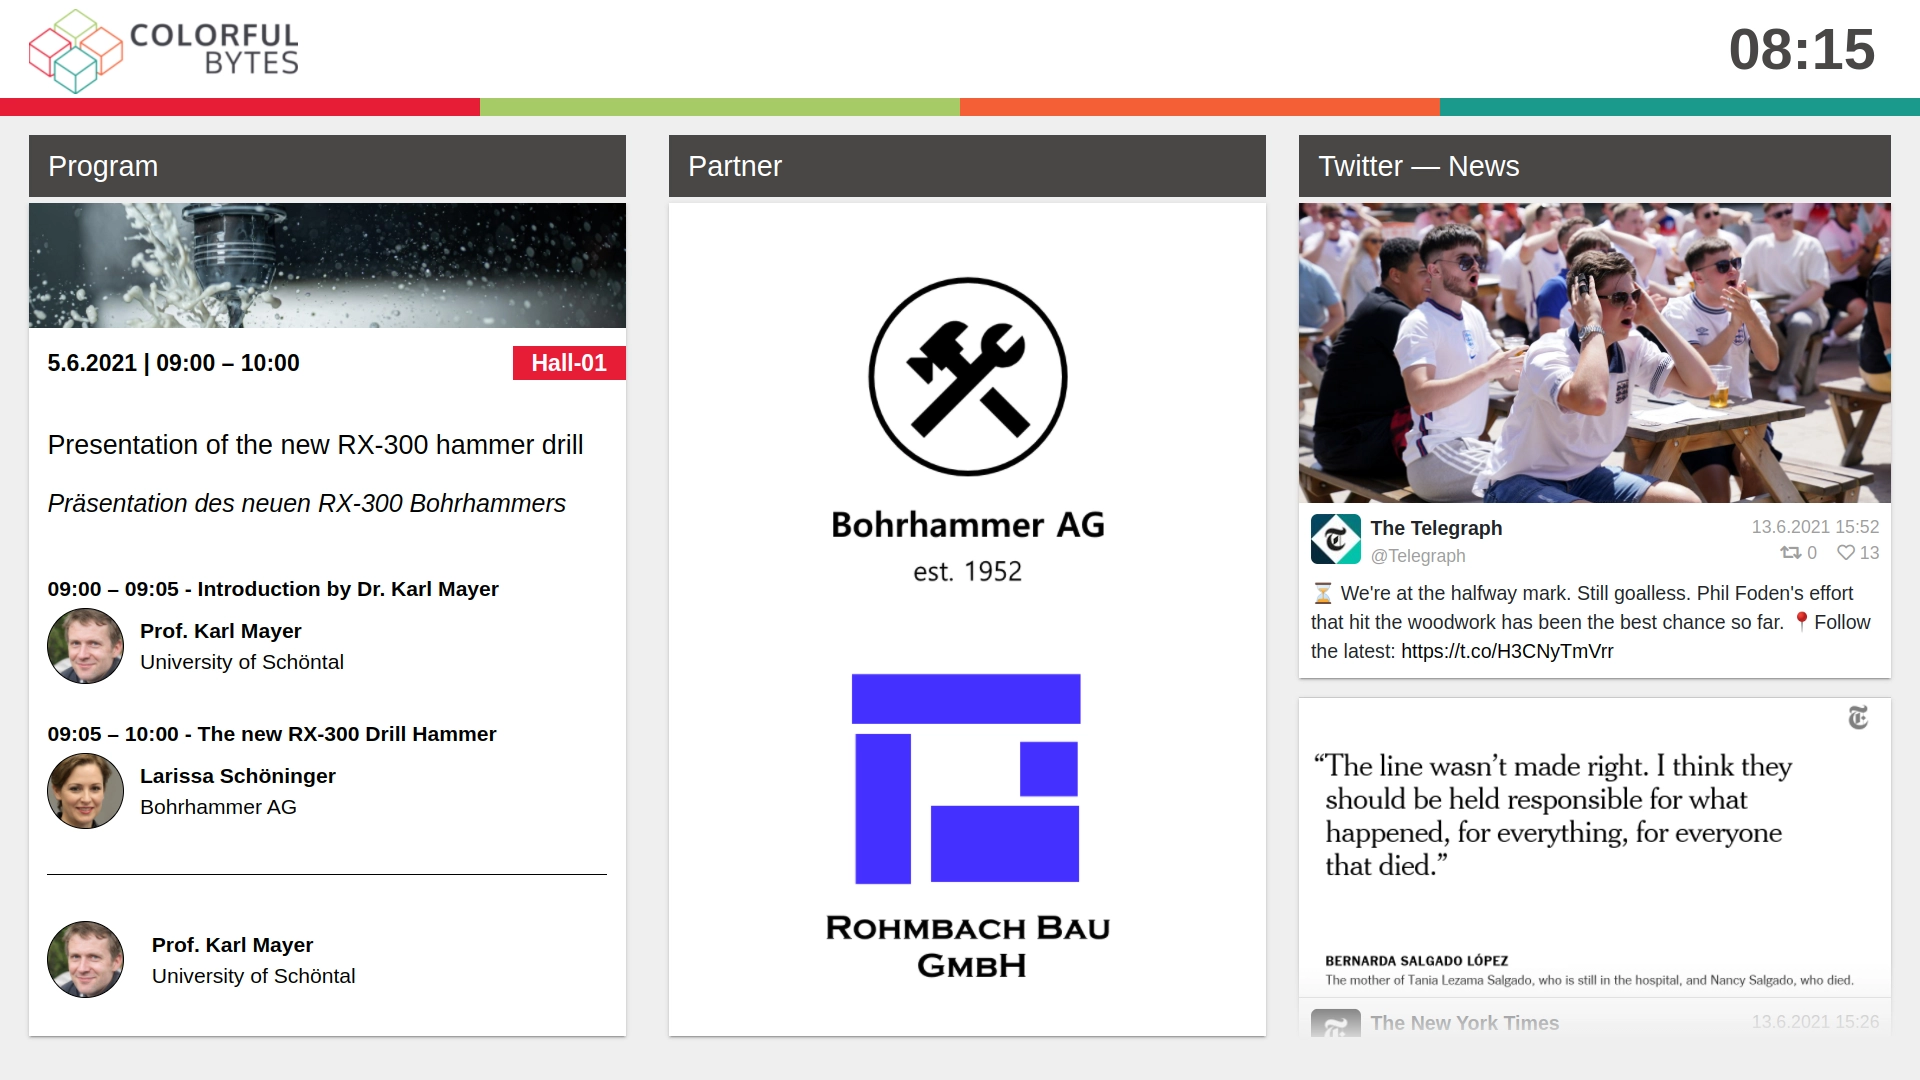
In this article you will learn how to manage the sponsors of your project. Tweet-Point provides increased visibility to your sponsors during the event. The sponsors' logos, but also their slogans or references to booths can be configured in the Tweet-Point sponsor tile.
By default, Tweet-Point provides four sponsor categories, which are accompanied by different display types and display durations.
Notice:
If you want to learn more about sponsor placement options, contact our team. We also map your sponsorship concept individually!
This functionality can be booked as an additional package for Tweet-Point. Visit our website (opens new window) to request a no obligation quote.
# Overview of sponsors
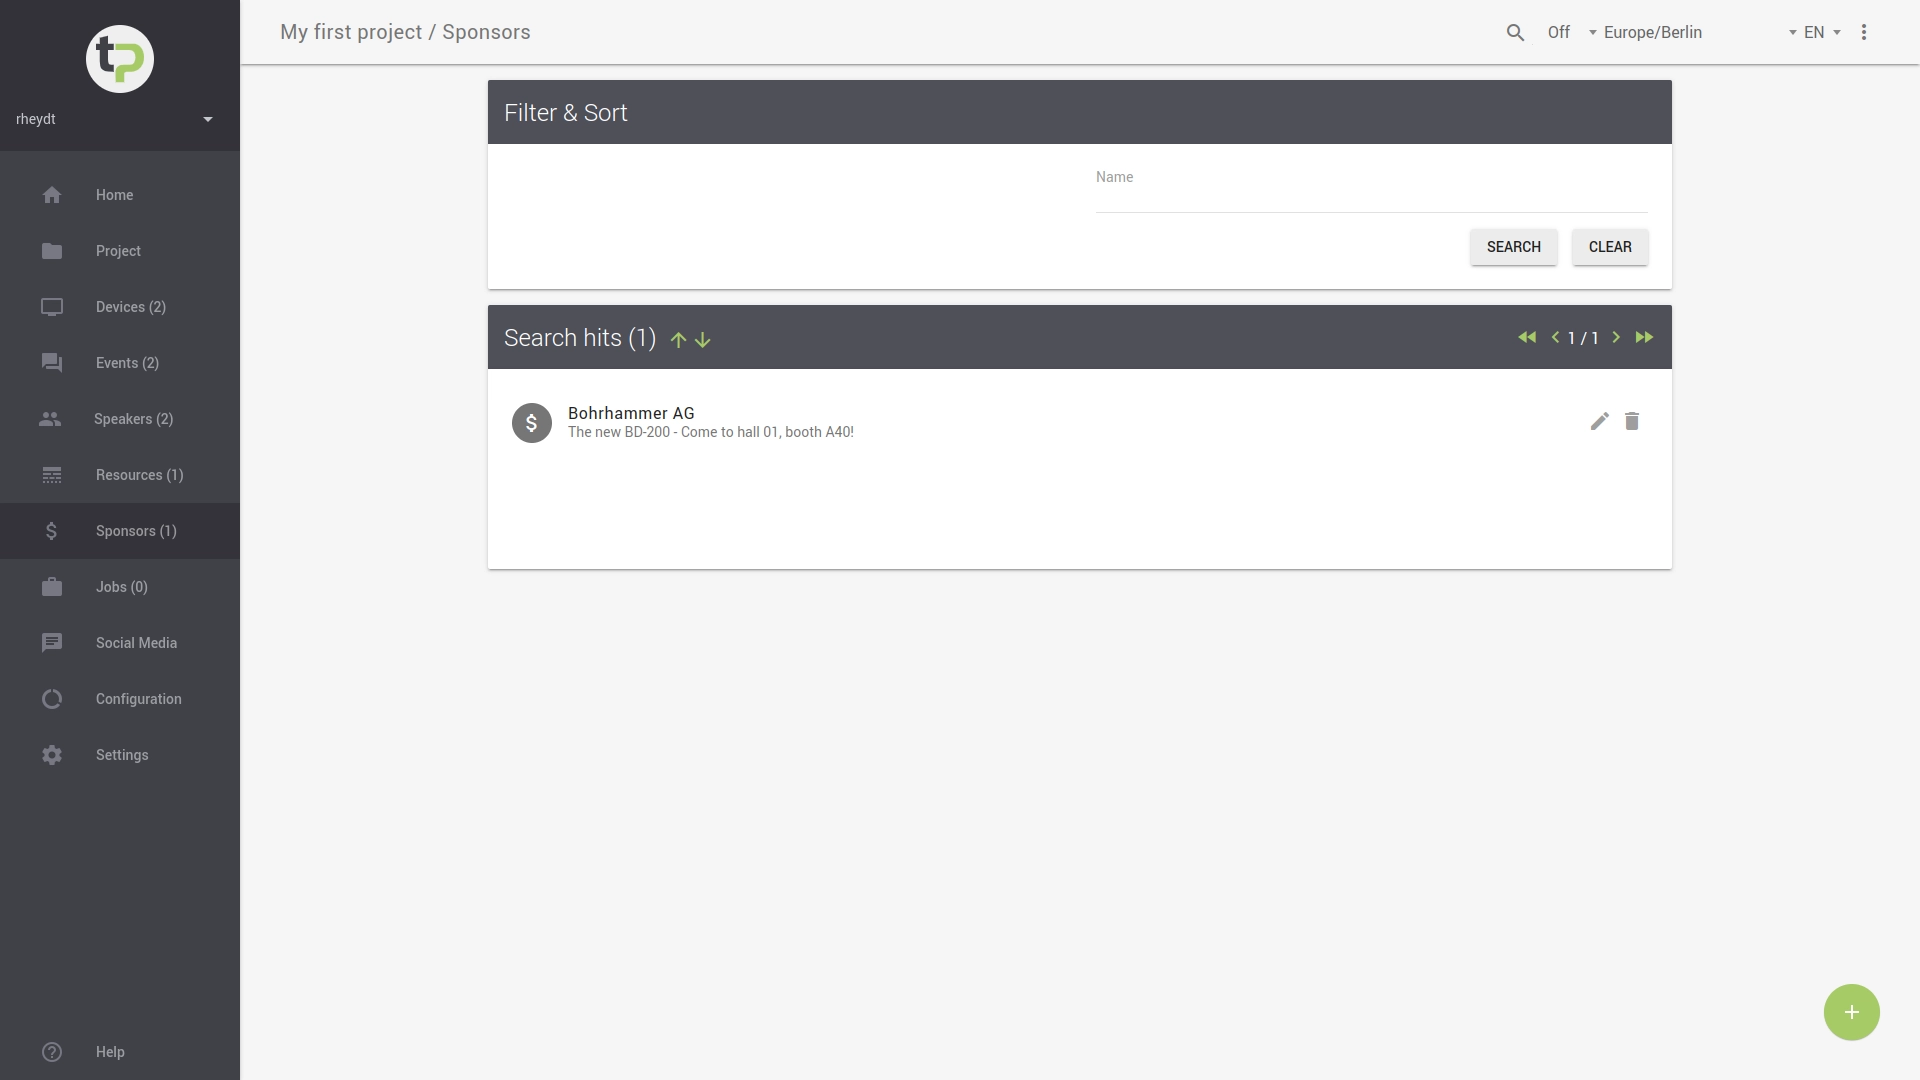
The overview (menu item: ) first shows you all sponsors that are already assigned to the project.
You can search for sponsors in the input field: For this you can search for parts of the name or for the slogan of the sponsor.
The search is case-sensitive. To start the search process, press the SEARCH button.
You can delete the search input by pressing the RESET button, then all sponsors will be displayed again.
The sponsors are sorted alphabetically in ascending order by their names. You can change the sorting order using the arrows. Use the forward/backward arrows to scroll through the sponsors in the view.
# Create sponsor
You can add a new sponsor by clicking on the + button in the bottom right corner. A new dialog will open:
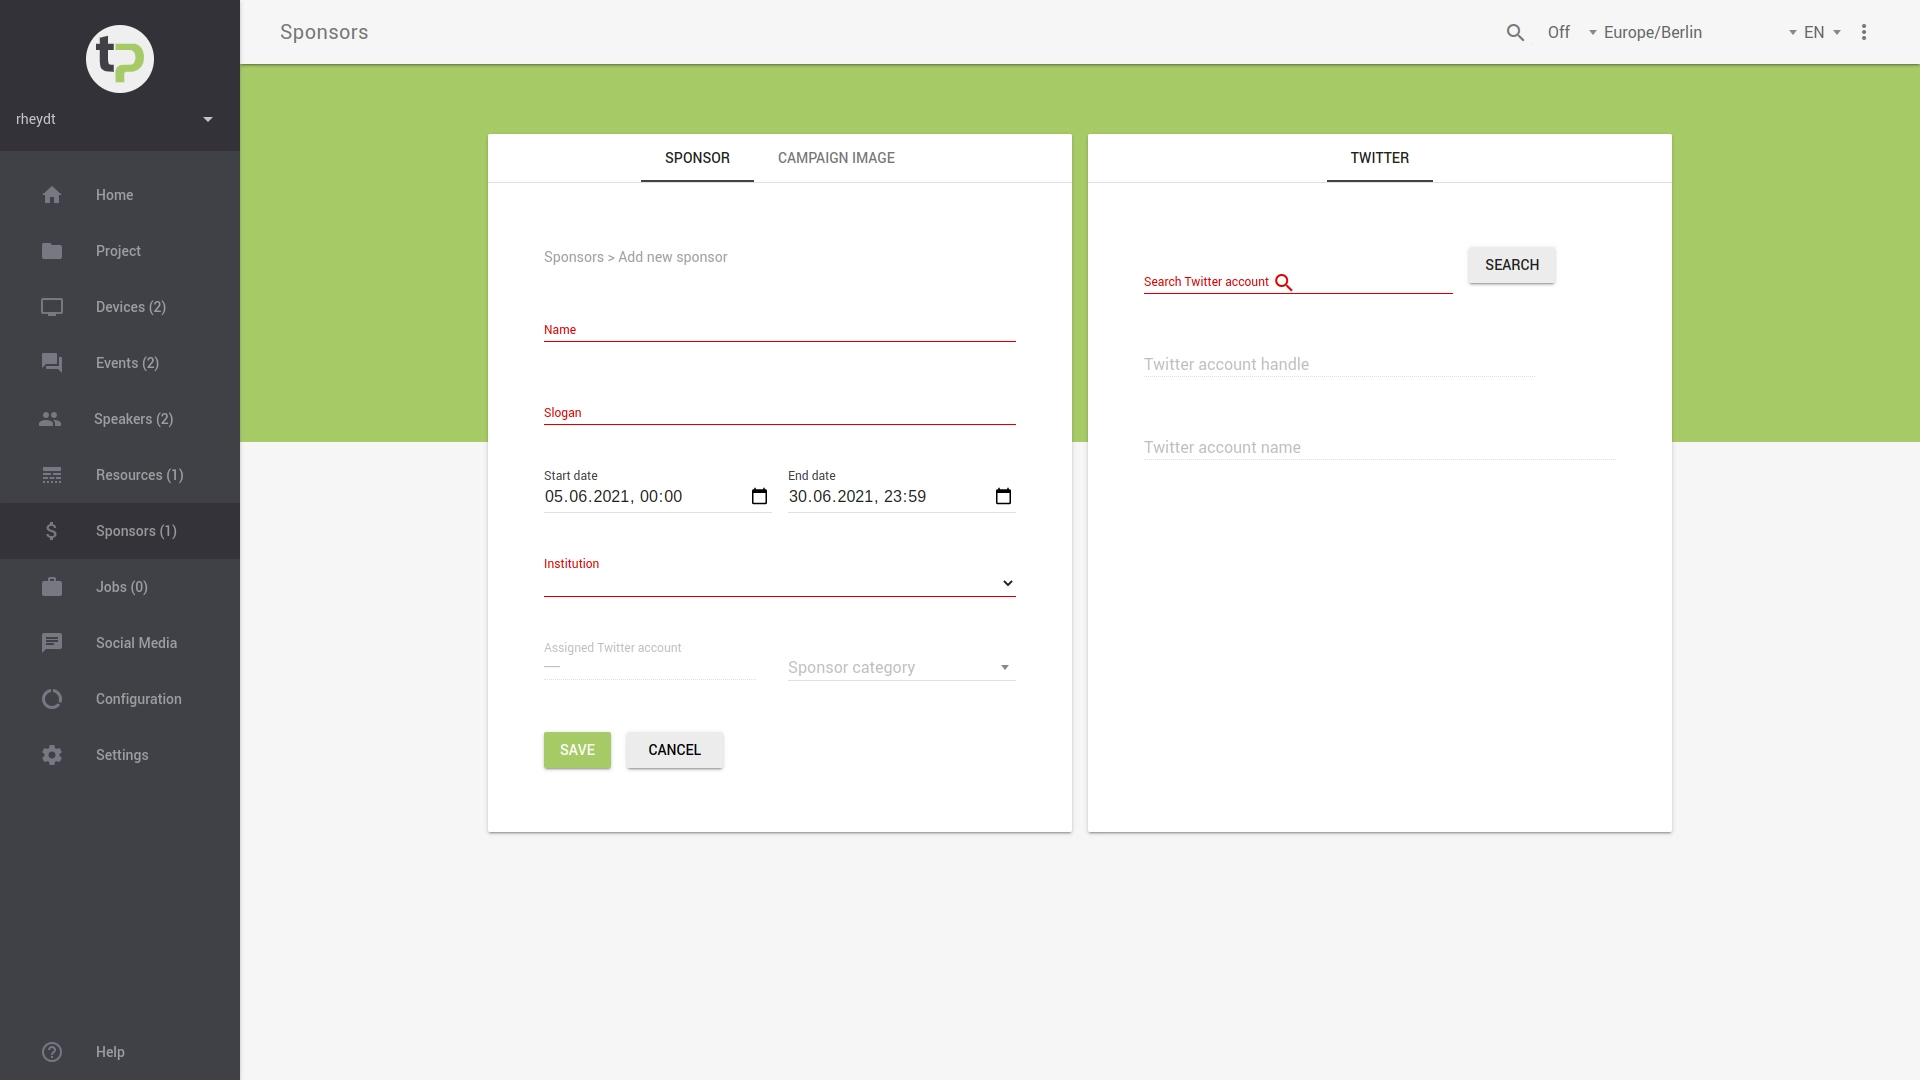
For each sponsor you need to provide a number of details:
- the name of the sponsor to be displayed on the Tweet-Point.
- the slogan of the sponsor, this could be the company slogan or claim, but also for example a reference to the exhibition stand or special offers.
- Start date and End date indicates in which period of your project, the sponsor should be presented on the Tweet-Points. By default, the project duration is set.
Tip:
The time flexibility of Tweet-Point allows you to enable sponsor packages completely according to your ideas. For example, a possible scenario would be to display your exclusive sponsors for the entire duration of the event, regular sponsors but possibly only for one day of the event.
- each sponsor must be associated with a previously created facility. To learn how to create facilities, see this article.
- Optional: You can assign the sponsor's Twitter account. For this purpose, you will find a search function in the right tab
TWITTER. More details about this in the section Link sponsors and Twitter account. - Optional: You can upload an image under the
CAMPAIGN IMAGEtab. More details about this in the sponsors and campaign-pics section. - specify the category of the sponsor in four gradations based on medals:
- Platinum
- Gold
- Silver
- Bronze
Tip:
- Unless your sponsor concept provides for categorization, select the same level for each sponsor, for example
Bronze.
With the button STORE the new sponsor will be added to your project. If you have forgotten any necessary information, the system will inform you about it.
# Customize properties
You can change the details of a sponsor at any time. These changes are also immediately active and updated on the Tweet-Point.
To change the details, you have two options:
- you can click on an entry in the sponsor overview.
- you select a sponsor in the overview and thus get to the detailed view. There you find a in the upper right corner, this leads you to the change dialog.
The input fields are the same as in the create dialog of a sponsor.
Don't forget to apply your changes with the STORE button.
# Associate Twitter account
Often your sponsors are themselves active on social media platform, such as Twitter, where they promote participation in your event, new products or post notes about interesting talks. With the help of Tweet-Point, you can always display your sponsors' tweets prominently, without any separate manual effort.
Tip:
You can also have the posts of your sponsors displayed in a filtered manner in the social media management! Details about this can be found in this article.
To link an account to the sponsor, use the TWITTER tab when creating or editing a new sponsor.
In the input line Search Twitter account you can enter the so-called handle of the account.
Upper and lower case is not important here.
Clicking on SEARCH will check if the handle is available. If it is, it will be displayed in the dialog.
If the handle was not found, the dialog remains empty.
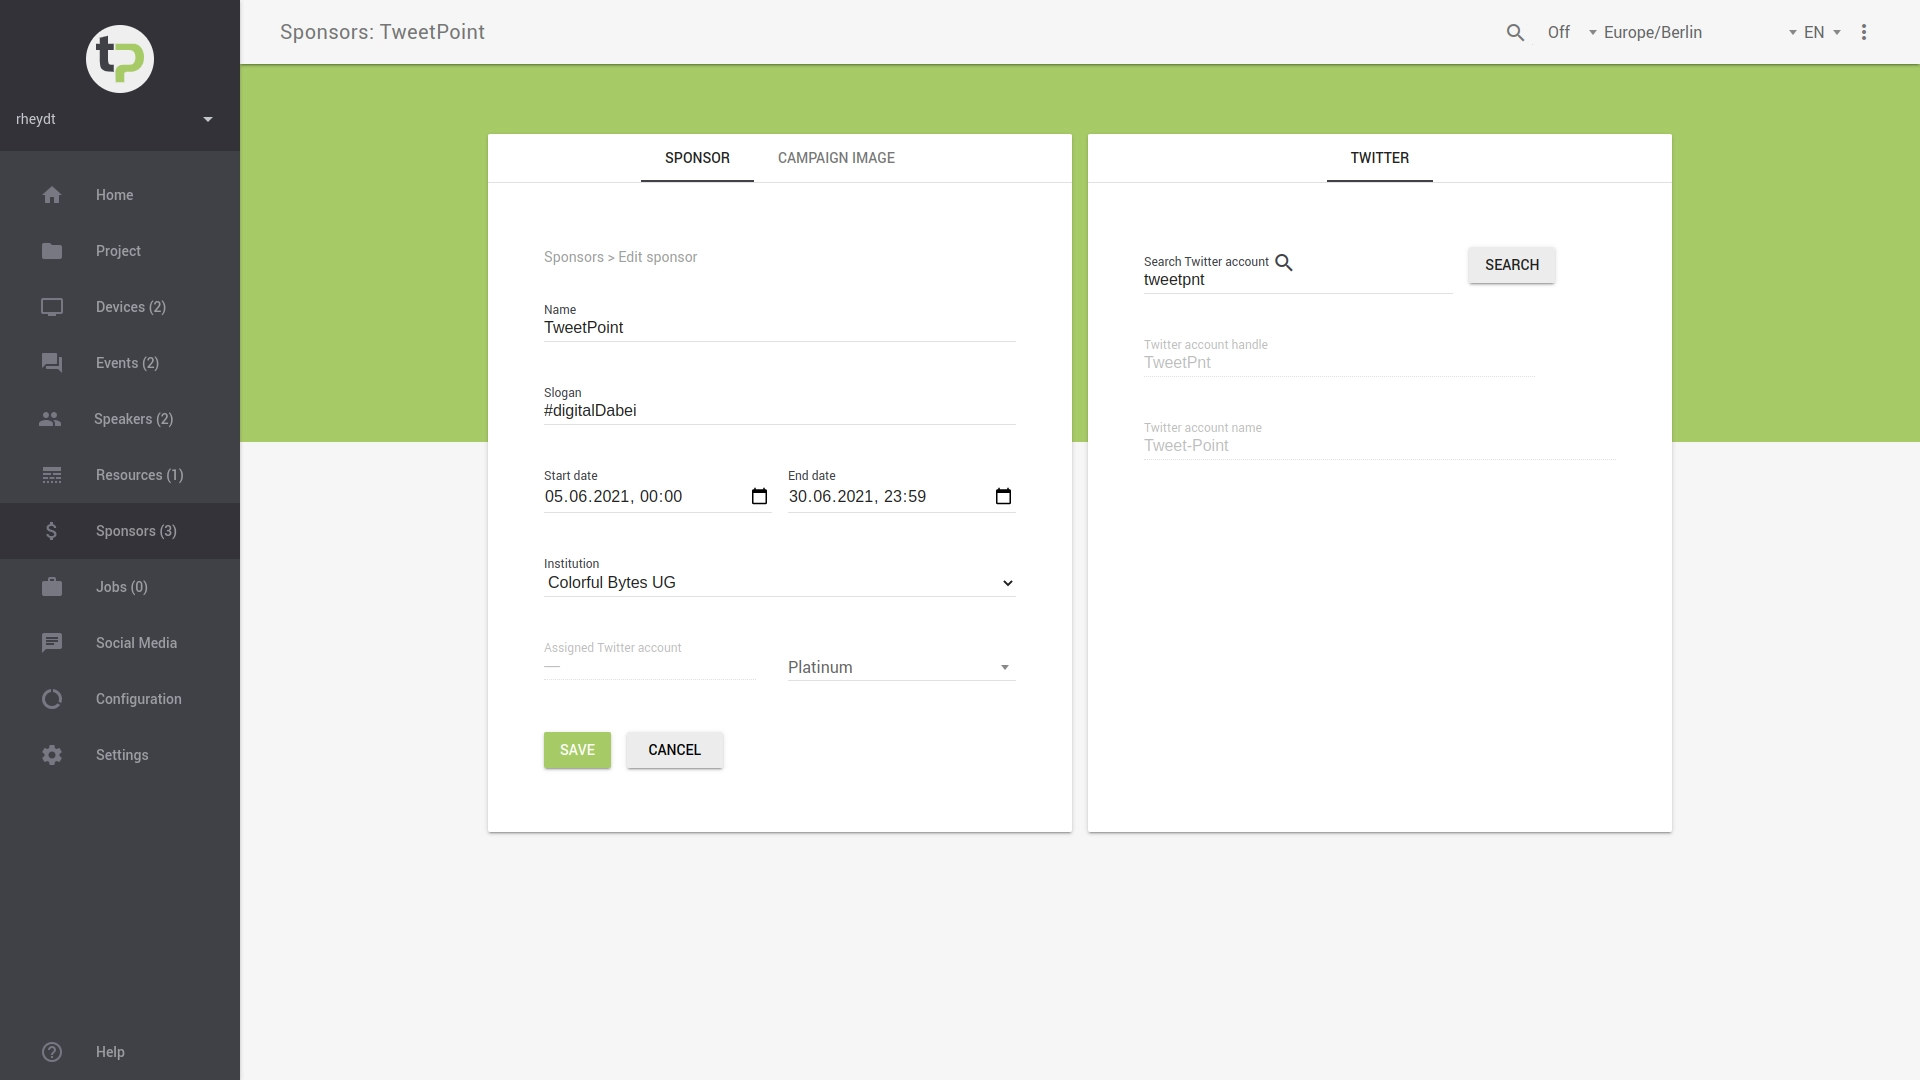
With the button STORE in the tab SPONSOR the changes are applied, that means the Twitter account was successfully linked.
# Assign campaign images
Allow your sponsors to promote innovative products or other offers in a big way on the tweet posts!
To do this, you can already upload an image when creating a new sponsor or add an image to an existing sponsor.
Use the tab CAMPAIGN PICTURE (see below).

By clicking on the button SELECT you can select a new image on your computer and upload it to the management system.
The dialog box that appears will show you all the files on your local device.
Attention:
The file size of the image must not exceed the displayed default (in MB).
Select an image or another media file of a supported format here. This will then be displayed in the current view via in the form of a preview.
Hints:
- Put the scene in good light by choosing a well-fitting crop.
- You can select the visible area by dragging the image.
- Use the mouse wheel to adjust the degree of magnification.
Use the STORE button in the SPONSOR tab to apply the changes.
# Delete sponsor
Created sponsors can be deleted in two ways.
- you can click on an entry in the overview.
Attention:
The sponsor will be deleted immediately without any query from the system.
- you select a sponsor in the overview and thus get to the detailed view. There you find a in the top right corner. After clicking on it, you will be asked if you really want to delete the sponsor. You have to confirm this action via the dialog box that appears afterwards.
← QR codes Job offers →